Installation Guide for Multi Server Wizdom Setup
This guides takes you through the process of installing and configuring Microsoft DFS (Distributed File System) for a multi server Wizdom installation.
NOTE: Please be aware that some screenshots in this documentation not necessary reflect the actual setup for this installation.
1) DFS Deployment
DFS Replication enables efficient replication of folders across multiple servers.
DFS Replication uses a compression algorithm known as remote differential compression (RDC). RDC detects changes to the data in a file, and it enables DFS Replication to replicate only the changed file blocks instead of the entire file.
NOTE: Configuration of DFS requires domain administration rights.
To deploy DFS:
1) On all the Wizdom IIS servers, open PowerShell with Elevated Rights.
2) At the PowerShell command prompt run the following command.
Install-WindowsFeature FS-DFS-Replication, RSAT-DFS-Mgmt-Con3) Reboot server to complete installation if requested by installation result.
2) DFS Configuration for Wizdom Web Site
To configure DFS for Wizdom web site, perform the following steps:
1) On one of the Wizdom IIS servers, open ‘DFS Management’.
2) Click ‘New Replication Group’.
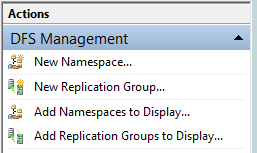
3) Choose ‘Multipurpose replication group’ and click ‘Next’.

4) Type ‘WizdomDFS’ as Name of replication group and click ‘Next’.
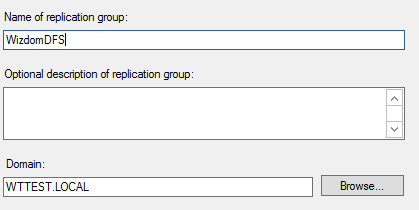
5) Add the Wizdom IIS servers and click ‘Next’.
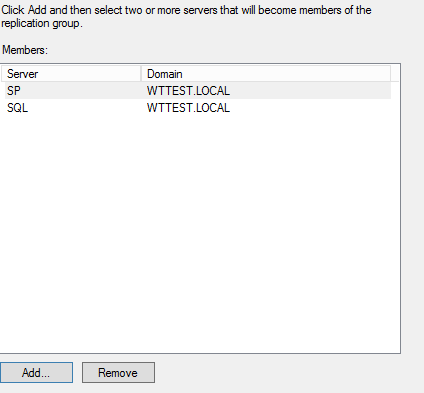
6) Choose “Full mesh” and clock ‘Next’.

7) Choose the bandwidth and click ‘Next’.

8) Choose the primary IIS server.

9) Click ‘Add’ to add folder to keep in sync across the DFS replication group.
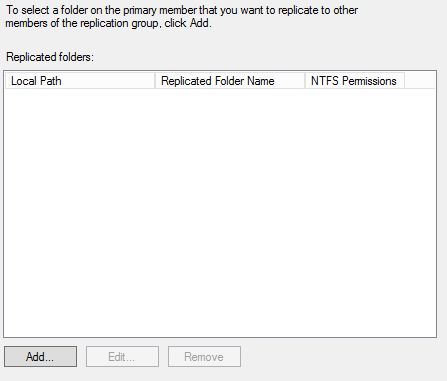
10) Select the Wizdom IIS Web Site Folder on the primary server.
11) Click ‘Ok’.
12) Click ‘Next’.
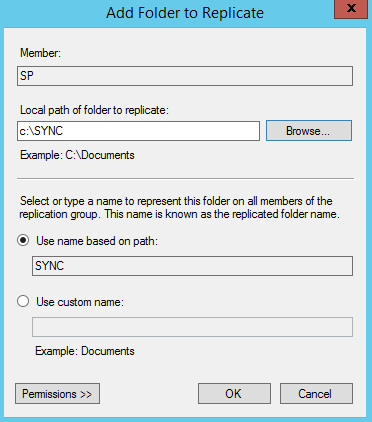
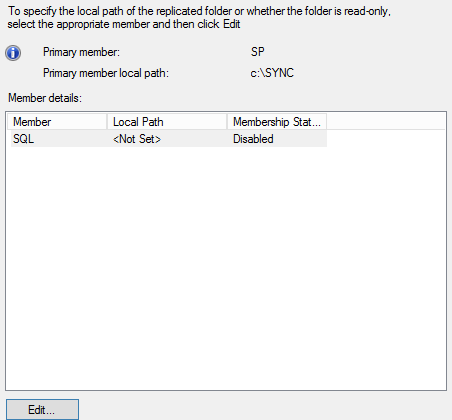
13) Select the member server and click ‘Edit’.
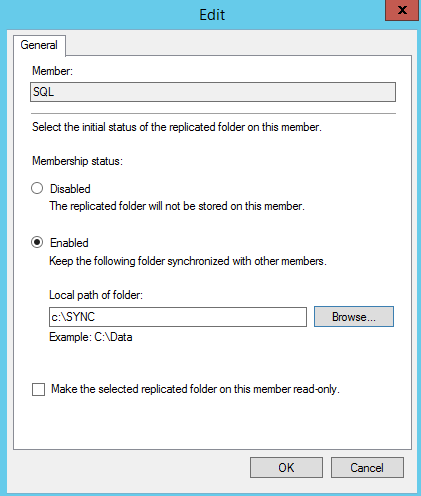
14) Click ‘Enabled’ and select the same folder on the other Wizdom IIS server.
15) Click ‘Ok’.
16) Click ‘Next’.
17) Click “Create” to create the replication group.
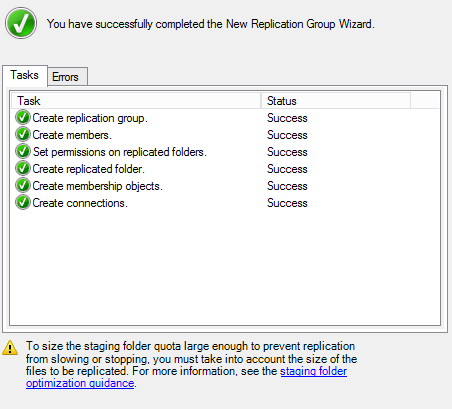
18) Confirm that everything is green.
19) To make sure all servers see the replication group in Active Directory, on all the Wizdom IIS servers, open PowerShell with Elevated Rights.
20) At the PowerShell command prompt run the following command and wait for a few minutes:
dfsrdiag pollad21) To test that the configuration is working, add a file, if you see it on the other server, the configuration is working. Remember to delete the test file afterwards.
3) DFS Configuration for Wizdom Blob Directory
To configure DFS for Wizdom blob directory, perform the following steps:
1) On one of the Wizdom IIS servers, open ‘DFS Management’
2) Choose ‘WizdomDFS’ replication group and click ‘New Replicated Folder’.
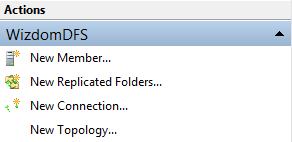
3) Choose the primary Wizdom IIS server.

4) Click ‘Add’ to add folder to keep in sync across the DFS replication group.
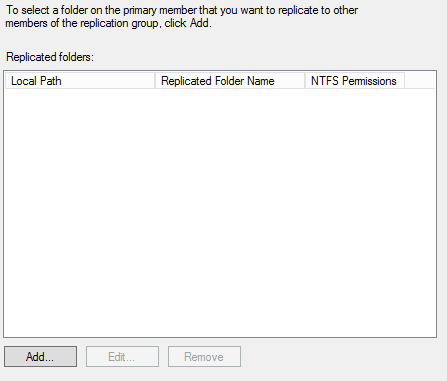
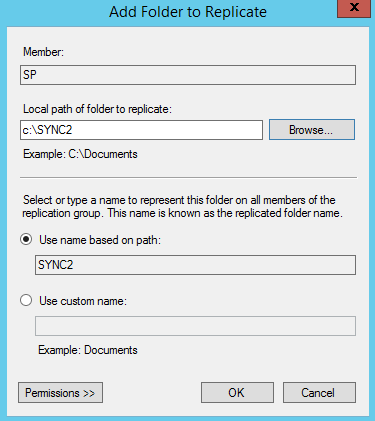
5) Select the Wizdom Blob Folder on the primary server.
6) Click ‘Ok’.
7) Click ‘Next’.
8) Select the member server and click ‘Edit’.
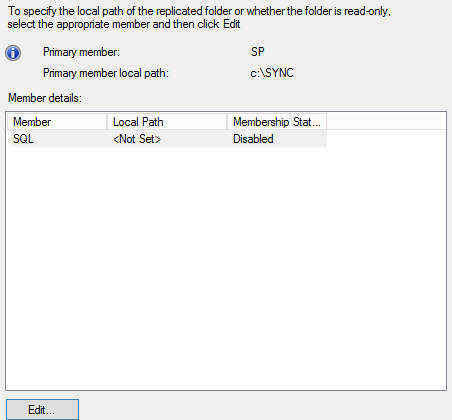
9) Click ‘Enabled’ and select the same folder on the other Wizdom IIS server.
10) Click ‘Ok’.
11) Click ‘Next’.

12) Click ‘Create’ to add the folder to the replication group.
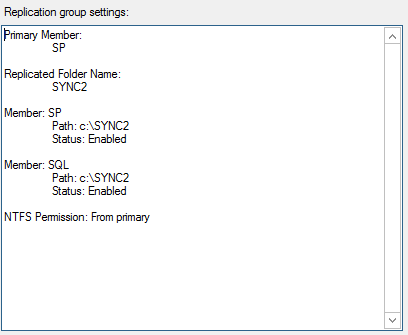
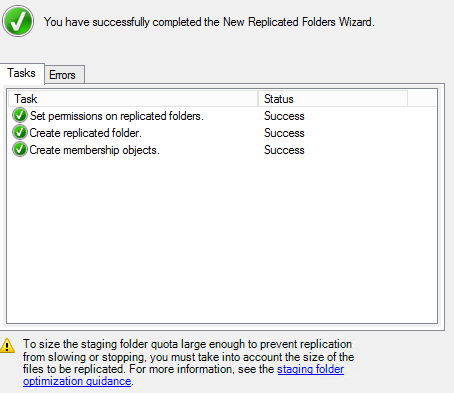
13) Confirm that all tasks are ticket with a green check mark.
14) To make sure all servers see the replication group in Active Directory, on all the Wizdom IIS servers, open PowerShell with Elevated Rights.
15) At the PowerShell command prompt run the following command and wait for a few minutes.
dfsrdiag pollad16) To test that the configuration is working, add a file, if you see it on the other server, the configuration is working. Remember to delete the test file afterwards.
