Replace an Expiring Client Secret
The Client Secret for an app in Office 365 is typically valid for a year. After this, the Client Secret expires and the app can no longer be used.
A good practice is to extend the Client Secret for your Wizdom app before it expires. In this way you can extend the client secret in up to three years. In this article, we’ll walk you through how to extend a Client Secret for your Wizdom app before the Client Secret is expired.
Last edited March 7 2017
Prerequisites
Before you start, you’ll need the following:
1) Microsoft Online Services Sign-In Assistant will have to be installed on the development computer. Download it here (32bit or 64bit)
2) SharePoint Online Management Shell will have to be installed on the development computer. Download it here
3) A tenant administrator user for the Office 365 tenant (or a farm administrator on the farm) where the add-in was registered with the /_layouts/15/AppRegNew.aspx page.
4) Save the content of the newclientsecret PowerShell script to newclientsecret.ps1:
$enddate = [DateTime]::Now.AddYears(3).AddDays(-1)
$startdate = [DateTime]::Now
$clientId = Read-Host 'Client id '
$bytes = New-Object Byte[] 32
$rand = [System.Security.Cryptography.RandomNumberGenerator]::Create()
$rand.GetBytes($bytes)
$rand.Dispose()
$newClientSecret = [System.Convert]::ToBase64String($bytes)
New-MsolServicePrincipalCredential -AppPrincipalId $clientId -Type Symmetric –StartDate $startdate –EndDate $enddate -Usage Sign -Value $newClientSecret
New-MsolServicePrincipalCredential -AppPrincipalId $clientId -Type Symmetric –StartDate $startdate –EndDate $enddate -Usage Verify -Value $newClientSecret
New-MsolServicePrincipalCredential -AppPrincipalId $clientId -Type Password –StartDate $startdate –EndDate $enddate -Usage Verify -Value $newClientSecret
$newClientSecret
Generate New Client Secret
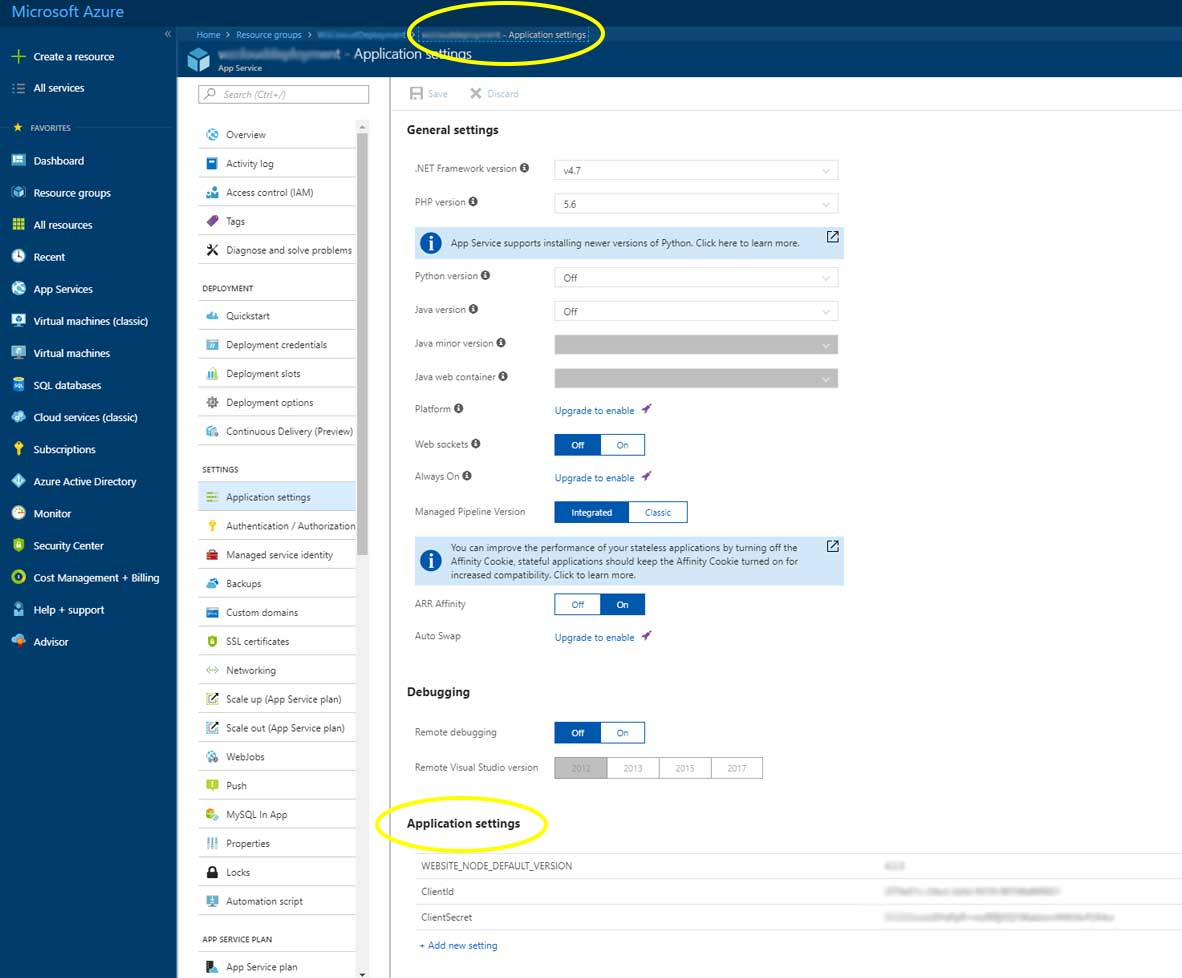
Go to https://portal.azure.com/ and log in to find and copy the client ID of the installed Wizdom app in Notepad for later use. You’ll find it under ‘Application settings’ for the Wizdom Azure website.
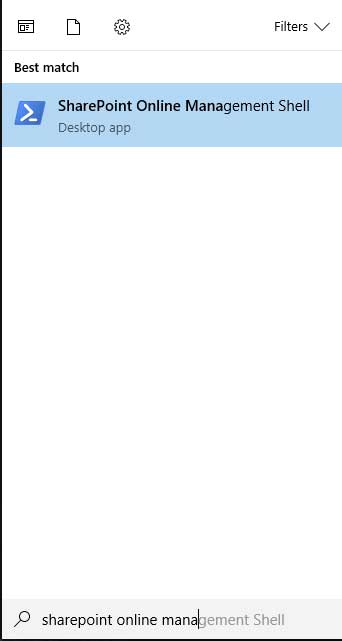
2) Open SharePoint Online Management Schell.
3) Run the following cmdlet:
Connect-MsolService
4) At the login prompt, enter credentials for the tenant administrator (or SharePoint administrator) for the Office 365 tenant or farm where the add-in was registered with AppRegNew.aspx.
5) Change the directory to the one where you saved newclientsecret.ps1 script. Run the script. You will be prompted for client id, enter the one you copied previously.
6) The new client secret will appear on the SharePoint Online Management Shell console. Copy it to a text file. You’ll use it in the next step.
NOTE: If an error has been reported in the course of this process, the new client secret will not work. If you have a different tenant administrator account you can try and connect with this. Otherwise, you will not be able to generate a new client secret by the means of this method and must instead follow the steps to generate a new client ID and secret in this guide.
Update the App Settings of the Wizdom Azure Website
1) Go back to the ‘Application settings’ of the Wizdom Azure website.
2) Change the name of the ClientSecret key to ‘SecondaryClientSecret’ as shown in the following screen shot:
3) Click ‘Add new setting’, call it ‘ClientSecret’ and paste in with the new client secret.
4) Finally, click ‘Save’, and confirm that the Wizdom app is still working.
Now you have extended your Client Secret for another three years.
Remember to replace your Client Secret again before the three years has passed. A good practice is to note the date of expiration and plan for replacing the Client Secret already now.


