Birthdays web part settings for classic pages
Configuring the Birthdays web part
To add the Birthdays web part to a page, perform the following steps:
1) Edit the web page and click ‘Add a web part’ to open SharePoint’s web part gallery.
2) The Birthdays web part is found in the ‘Wizdom’ folder.
To set up the Birthdays web part, perform the following steps:
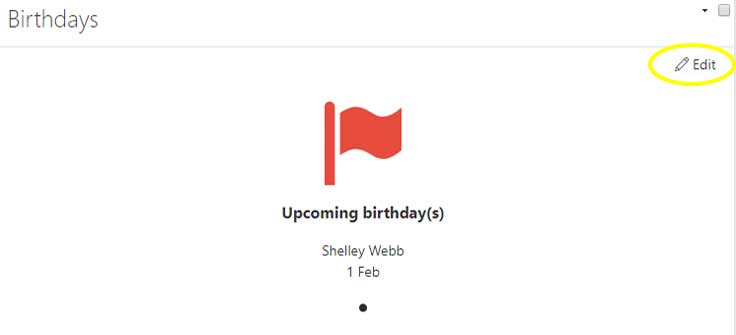
Press the ‘Edit’ icon in the web part.
Template lets you select a template to control the look and feel of the Birthdays web part. Templates for the Birthdays web part are found and edited in the Birthday module administration.
In Plus days, you define the number of days the web part looks ahead for upcoming birthdays. To show only today’s birthdays a value of 0 must be entered.
Ticking User’s current department will make the web part only display birthdays of employees from the same department as the user.
From Department you can select a specific department that the web part will display birthday of employees from. This field is only visible if user’s current department is not selected.
Advanced provides you with more and advanced options for configuration:
Source id allows you to limit the employees, the web part will display birthdays of, to a subset of users – e.g. to birthdays of all managers across departments. As the web part is based on SharePoint search, you can create a SharePoint result source and enter this ID. This means that the source id determines the exact subset of users you want the web part to display.
Managed property is the SharePoint search managed property mapped to the Birthday property in the User Profile Service. This property determines the data the web part will display for the users.
By changing the search source ID as well as the managed property, you can, therefore, make the web part display other relevant dates such as anniversaries. Note, however, that you will need to customize the template of the web part to make it appropriate to display other data than birthday dates.


