Web part settings for classic pages
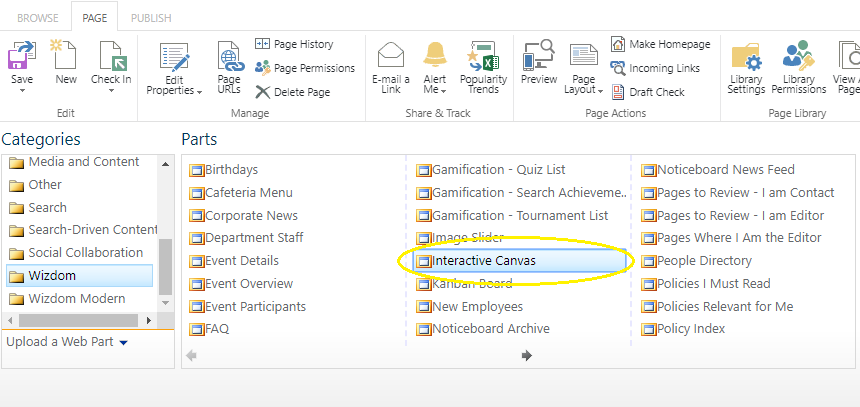
Find the Interactive Canvas web part
Add the web part by clicking finding the Interactive Canvas module in the Wizdom folder. Once it is added you can start inserting and removing tiles according to your preferences.
Inserting and removing tiles
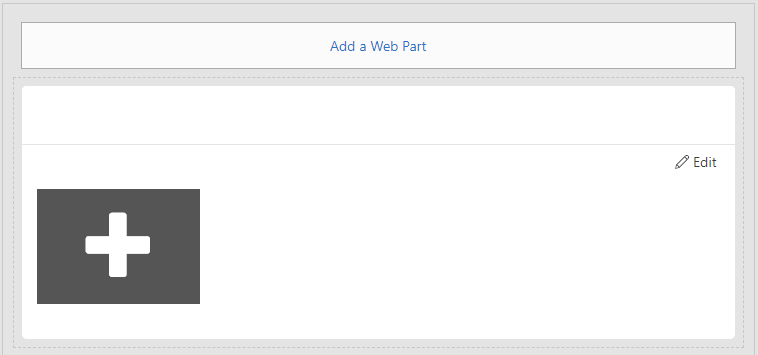
After placing the page in edit mode, it will be possible to add or remove tiles from a Interactive Canvas web part.
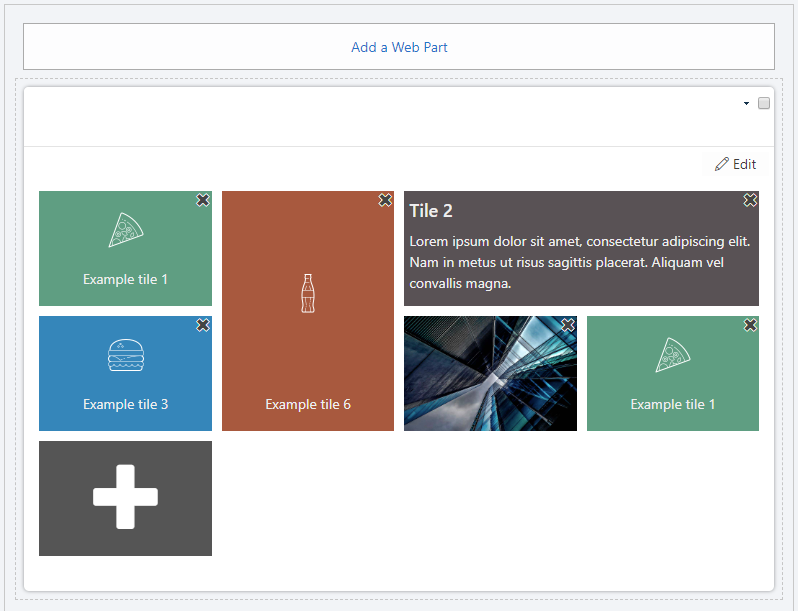
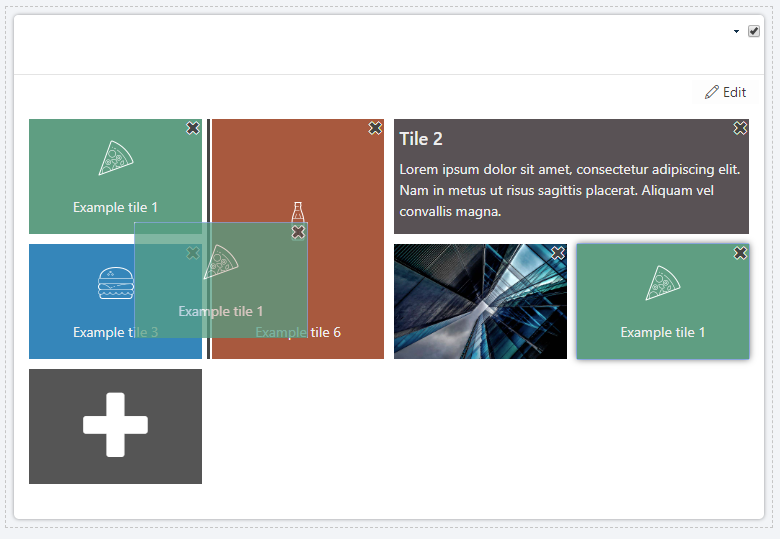
Tiles can be removed by clicking the x in the top right corner of the tile which will trigger a confirmation dialog. After the user confirms the action, the tile will be removed.
Tiles can be added by clicking the “add tile” (marked with a +) which opens the Interactive Canvas Gallery. The tile added from the gallery will be placed where the add tile was clicked.
Placing tiles
After placing the page in edit mode, the tiles can be rearranged by drag and drop.
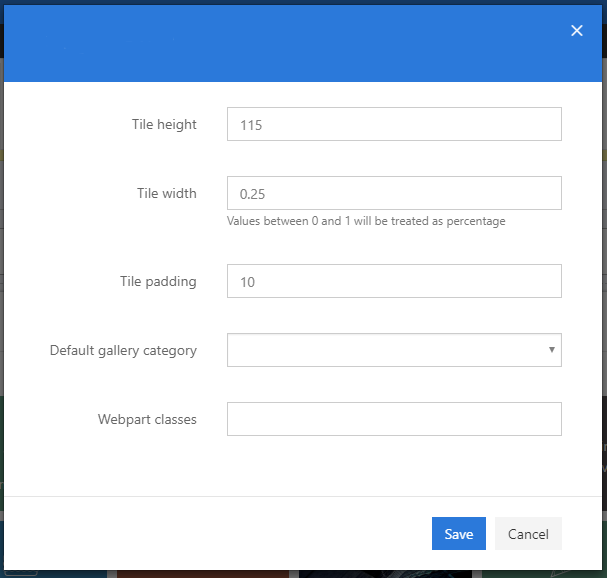
Configuring web part settings
After placing the page in edit mode and clicking the Edit button in the top right corner of the web part, the web part settings can be configured. There are five possible settings:
- Tile height
The height in pixels used for tiles.
- Tile width
The width in pixels or percentage used for tiles. Values between 0 and 1 will be treated as percentages, values above will be treated as pixels.
- Tile padding
The padding in pixels used for tiles.
- Default gallery category
The category that will be preselected when the Tile Gallery dialog opens.
- Web part classes
One or more CSS classes (separated by space) that will be applied to the tile container.
None of the settings are required.