Quicklinks for classic experience
In this article:
Adding Quicklinks web part
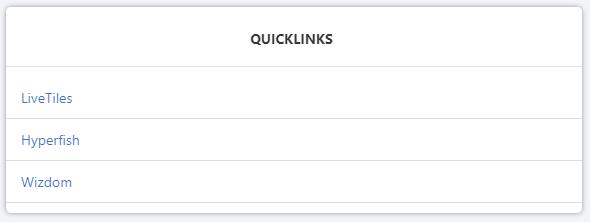
The Quicklinks web part presents links to users on intranet pages.
To add the Quicklinks web part to a page:
- Go to the page where you want to add the Quicklinks.
- If the page is not already in edit mode, click Settings and then click Edit page.
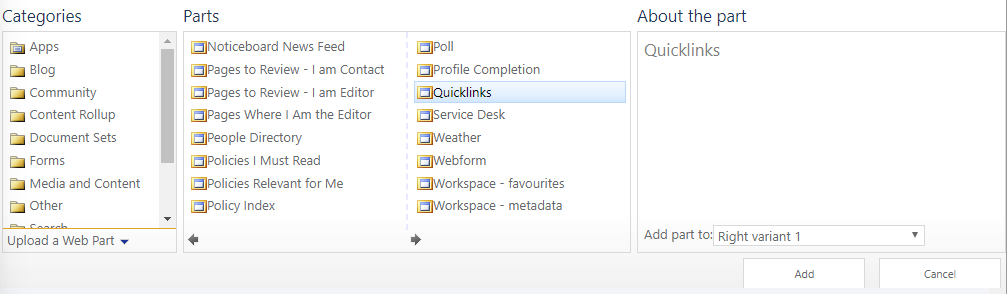
- Click to Add a Web Part in any web part zone on the page.
- From the Web Part catalog find the Wizdom category and the Quick links Web Part and click Add.
Configuring Quicklinks web part
- Go to the page where you want to add a web part.
- If the page is not already in edit mode, click ‘Settings’ and then click ‘Edit page’.
- Click ‘Edit’ on the web part that you want to configure.

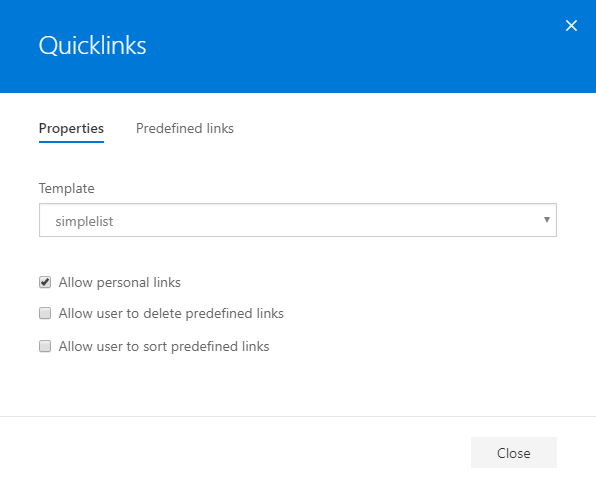
In the web part settings dialog, you can configure the following:
- Template lets you select a template for the web part. Choose between 6 pre-made templates.
- Ticking Allow personal links will allow users to add their own personal links that only they can see in the web part.
- Ticking Allow user to delete predefined links will allow users to delete links that was added by an editor.
- Ticking Allow users to sort predefined links will allow users to sort links that was added by an editor.
Under Predefined links, an editor can do the following:
- Add predefined link enables an editor to create links that are visible for all users or a targeted user or group.
- Add corporate link enables an editor to add links from a list of Corporate links.
- Create category enables an editor to define categories in the web part.
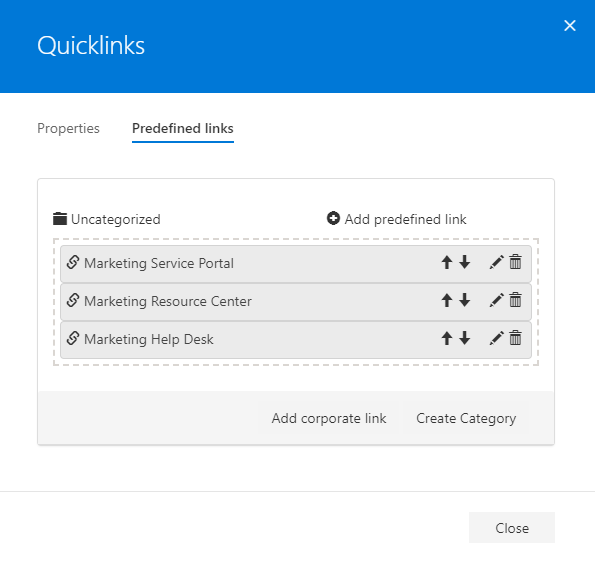
To add a predefined link to the web part, click Add
In Name, you write the name of the
In URL, you paste in the URL of the
Description allows you to describe the link. Some Quicklinks templates will show this description.
Category lets you select a category for the
If Open in new window is ticked, the link destination will be opened in a new window.
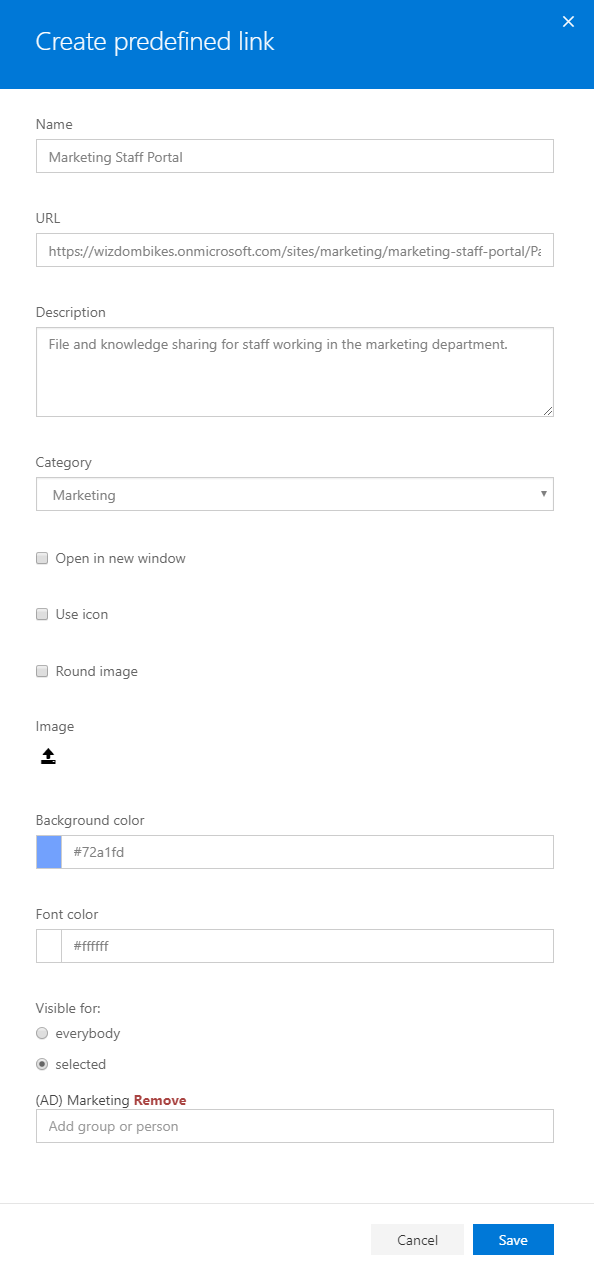
Tick Use icon if you’d like your link to be displayed with an icon. After the box is ticked, you will be offered to select the icon from a selection of icons.
Tick Round image if you’d like your images in the links to be displayed rounded. Some Quicklinks templates will use images, and some also allow round images.
Image allows you to upload an image or your own icon from your computer. Use square images if you wish the image to be round, and rectangular for oval impression. It’s recommendable to use small image sizes for best page performance.
Background color allows you to customize each link’s background color. After activating the field, you will be offered to select the color or add a color code you wish to use. Some Quicklinks templates will allow this. Note that if you have custom styling enabled, it might not be possible to use this feature.
Link color allows you to customize each link’s background color. After activating the field, you will be offered to select the color or add a color code you wish to use. Some Quicklinks templates will allow this. Note that if you have custom styling enabled, it might not be possible to use this feature.
Visible for enables audience control for links. Everybody includes all users.
Ticking Selected allows you to target the link to selected groups or persons from AD.
Templates
The Quicklinks web part for SharePoint’s classic experience comes with 6 pre-made templates you can choose from, depending on the needs of your intranet:
Accordion List template

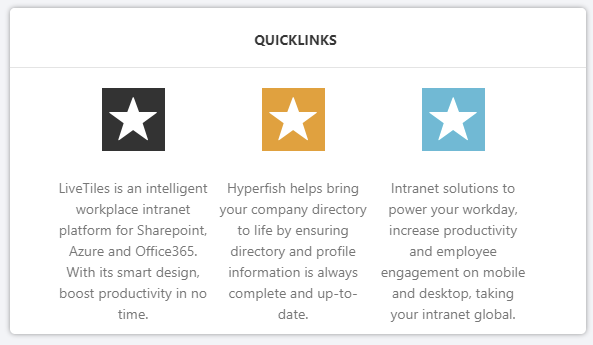
Descriptive Image List template
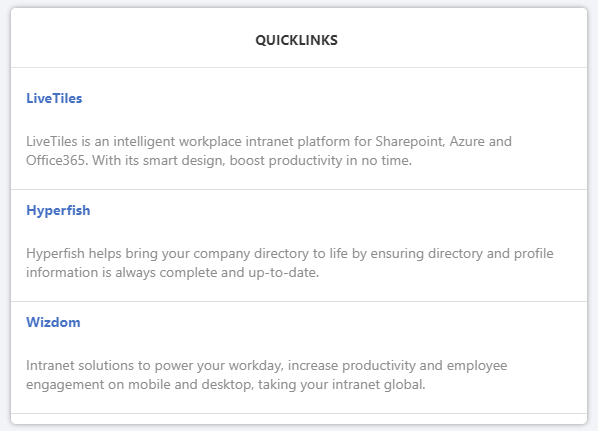
Details List template
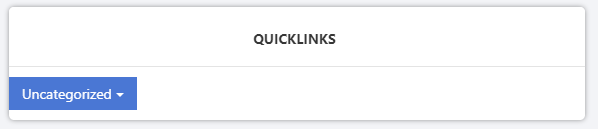
Dropdown List template
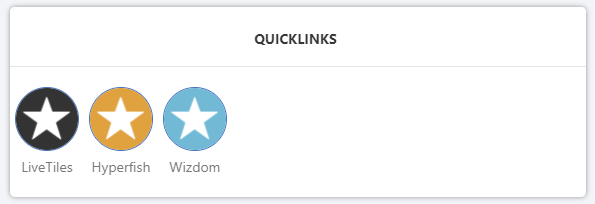
Imaged Link Horizontal template
Simple List template
Limitations in classic
- Icons, images, background colors and font color are not supported on all Quicklink templates.