Home » A-Z guides to set up and use Wizdom’s modules » Workspaces » Workspaces web part settings for classic pages
[printicon align="left"]

Workspaces web part settings for classic pages

The Overview web part

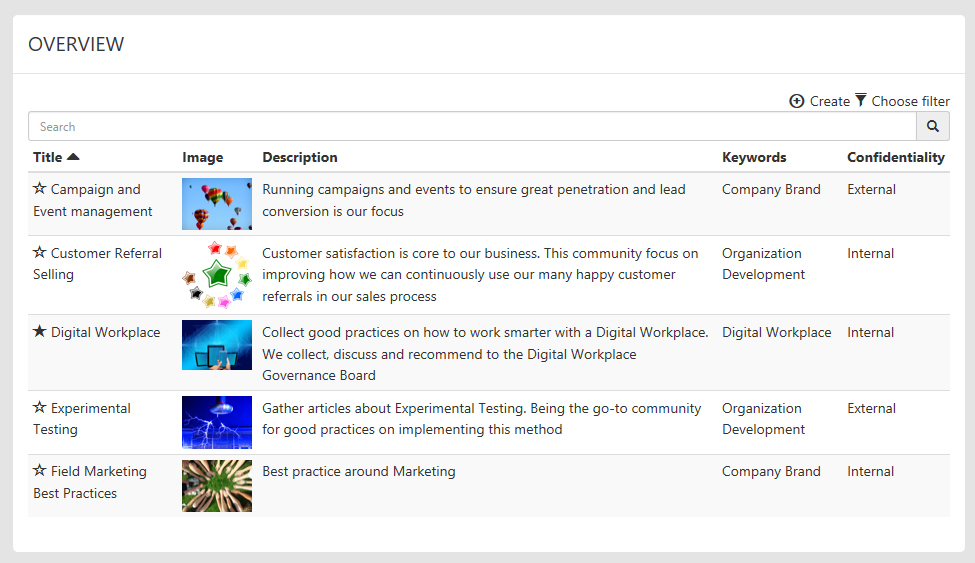
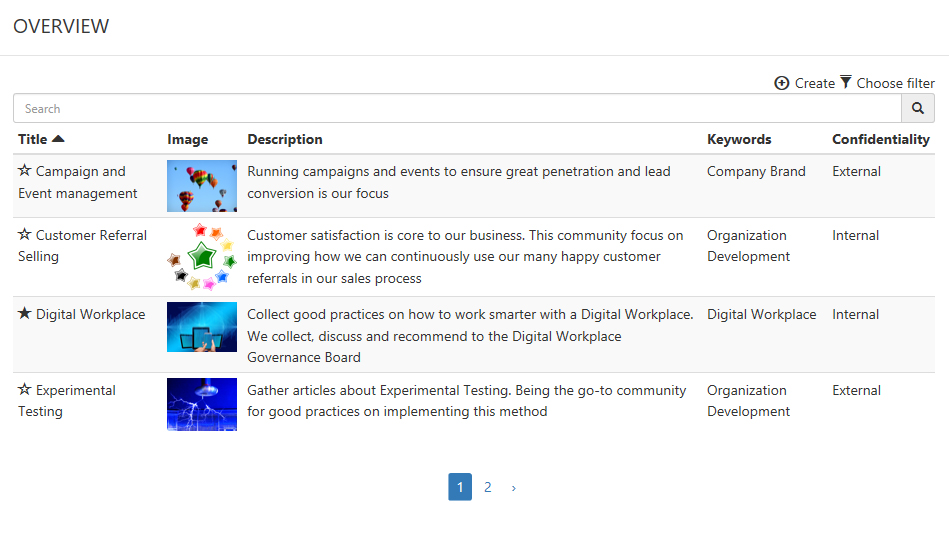
The ‘Overview’ web part provides users with an overview of and tools to manage all project spaces associated with a project unit. From an overview displaying all project spaces in the unit, the web part offers an entrance to find, filter, create, and delete project spaces.

To provide the best possible overview, the web part can be configured to show metadata from project spaces as long as the metadata is defined on project unit level.

Wizdom Digital Workplace

Per default, the Favorites web part is added to the landing page of a project unit.

However, if you need to add the ‘Overview’ web part to a page, perform the following steps:

1) Edit the web page and click ‘Add a web part’ to open SharePoint’s web part gallery.

2) The ‘Overview’ web part is found in the ‘Wizdom’ folder. The web part is labeled ‘Project space – overview’.

Wizdom Digital Workplace
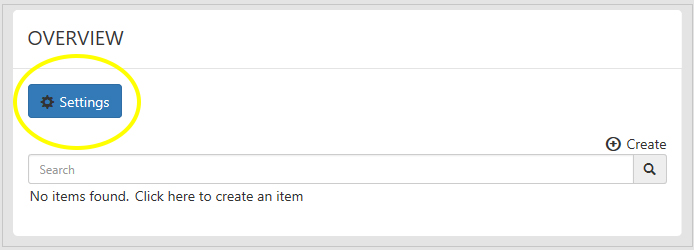
To configure the Overview web part, press the ‘Settings’ button in the web part.
Wizdom Digital Workplace
A window pops up and takes you through the basic settings.

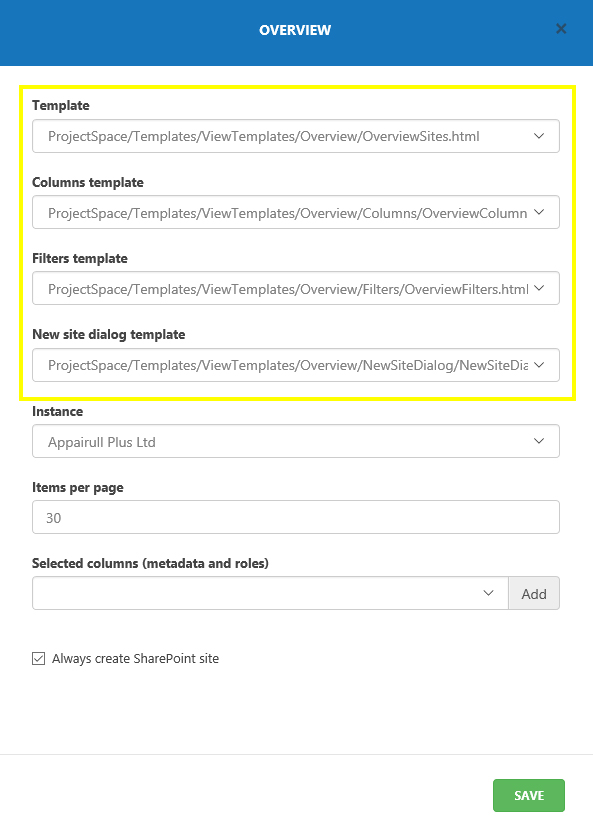
1) First choose the templates for the web part.

You will need to define templates for the web part overview, the columns, the filters, and the dialogue box that pops up when users are creating a new project space.

Wizdom Digital Workplace
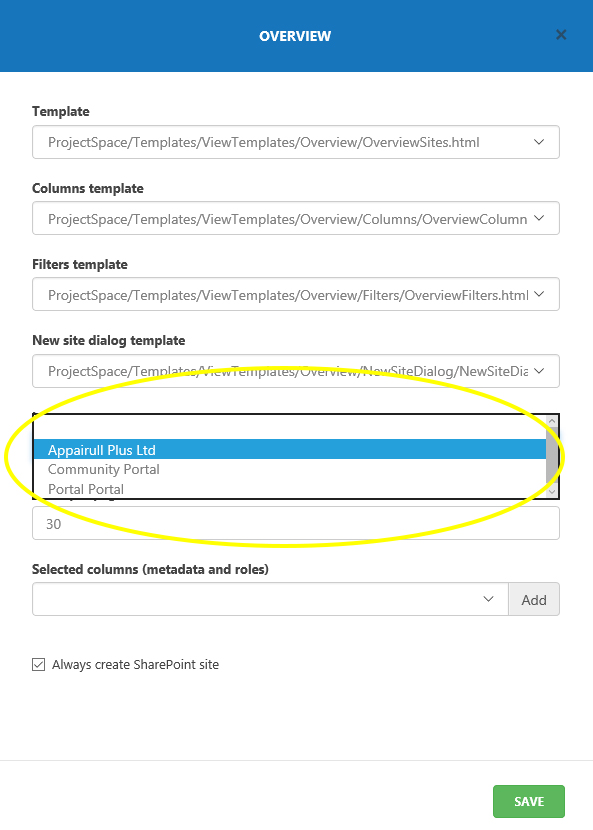
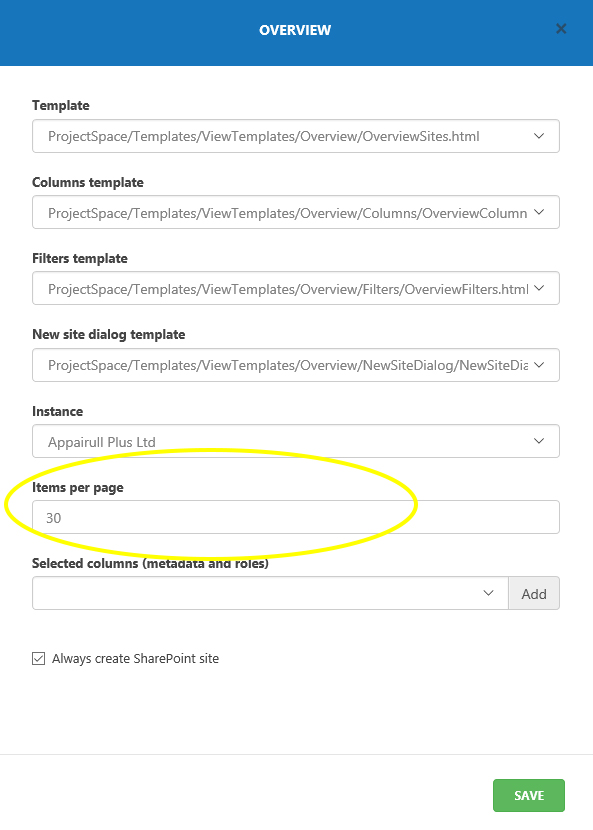
2) Second, in the field ‘Instance’, you define which project unit the web part will display project spaces from.
Wizdom Digital Workplace
3) In the field, ‘Items per page’ you define how many project spaces you’d like to display per page in the web part.
Wizdom Digital Workplace
Here, the items per page is set to four.
Wizdom Digital Workplace
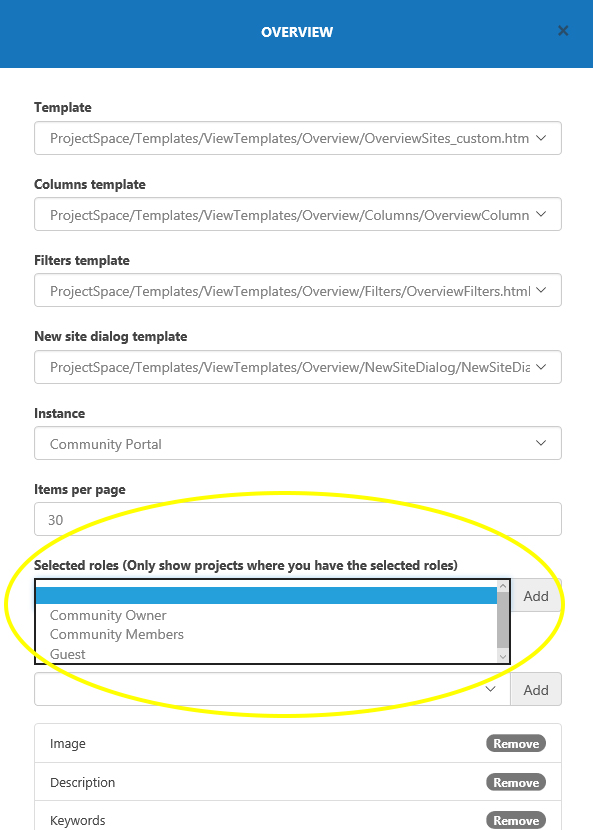
4) If you set a role in the field ‘Selected roles’, the web part will only display project spaces where user’s have the selected role. The view, therefore, will be personalized and depend on which role the user in question has.
Wizdom Digital Workplace
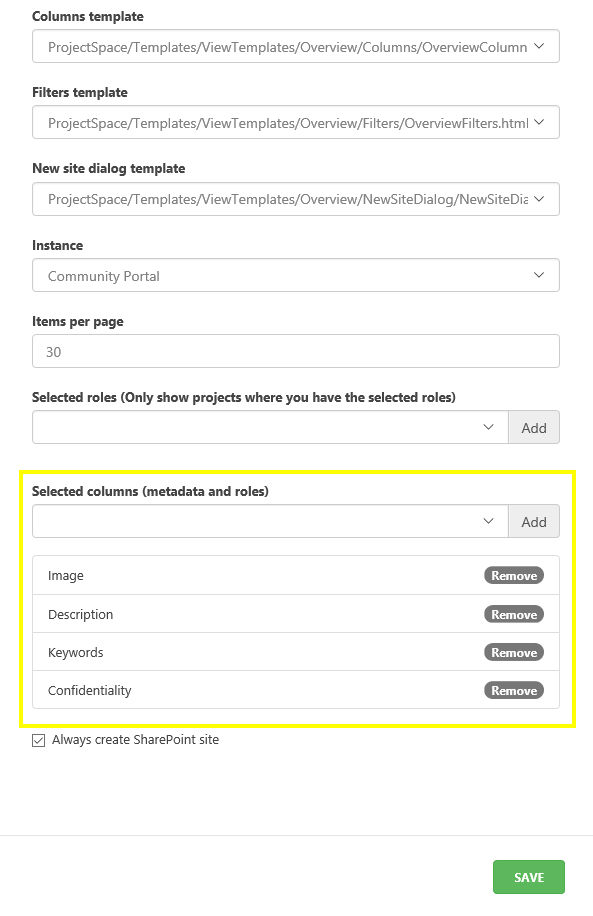
5) Selected metadata and roles will be displayed as columns in the overview​ web part.​​
Wizdom Digital Workplace
6)Press ‘Save’ to save your settings.

The Favorites web part

The ‘Favorites’ web part displays a personalized list of project spaces that the user has marked as favorites. This provides quick and easy access to project spaces selected by the user.

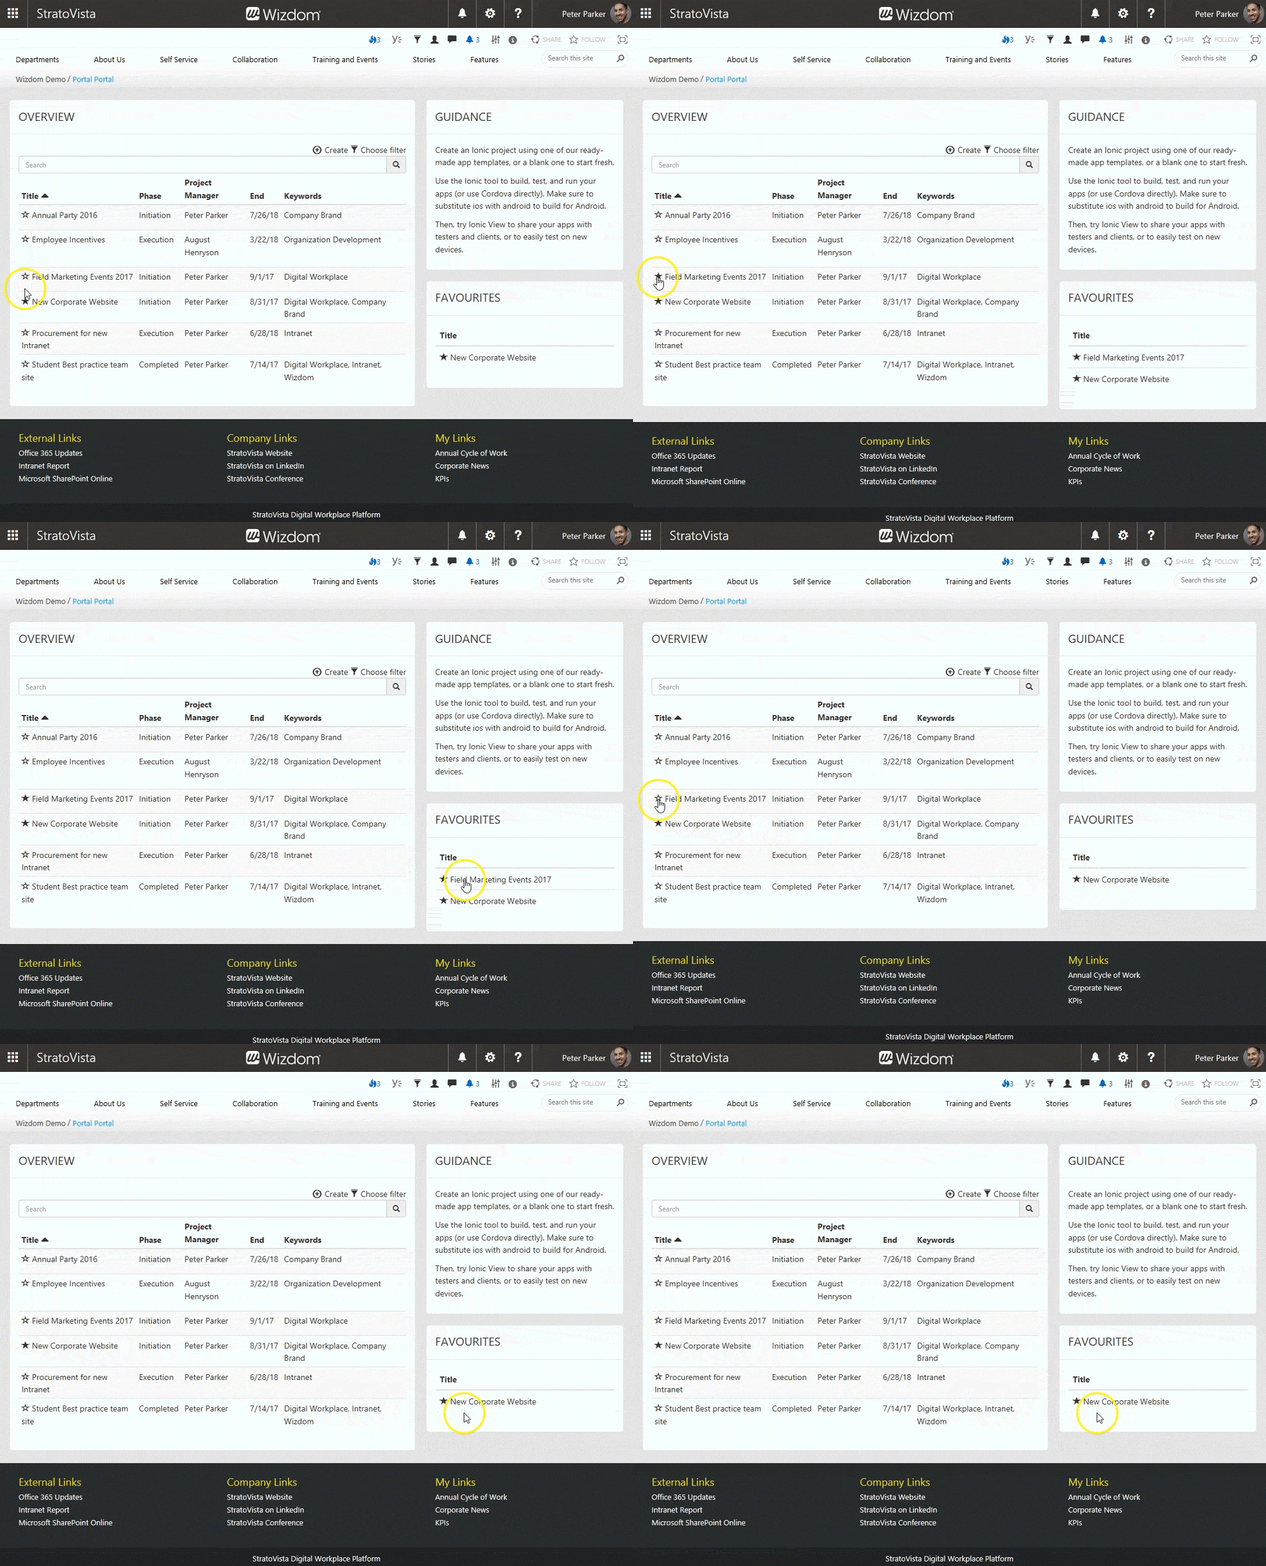
Users define own favorite project spaces by clicking the star icon in the ‘Overview web part’ next to a project space they favor. The project space can be removed from the Favorite web part by, again, clicking on and, thereby, deselecting the star icon next to the project space in the overview web part.

Wizdom Digital Workplace

Per default, the Favorites web part is added to the landing page of a project unit.

However, if you need to add the ‘Favorites list’ web part to a page, perform the following steps:

1) Edit the web page and click ‘Add a web part’ to open SharePoint’s web part gallery.

2) The ‘Favorites’ web part is found in the ‘Wizdom’ folder. The web part is labeled ‘Project space – favourites’.

Wizdom Digital Workplace
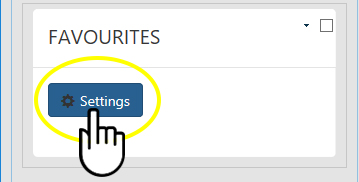
To configure the Favorites web part, press the ‘Settings’ button in the web part.
Wizdom Digital Workplace
A window pops up and takes you through the basic settings.

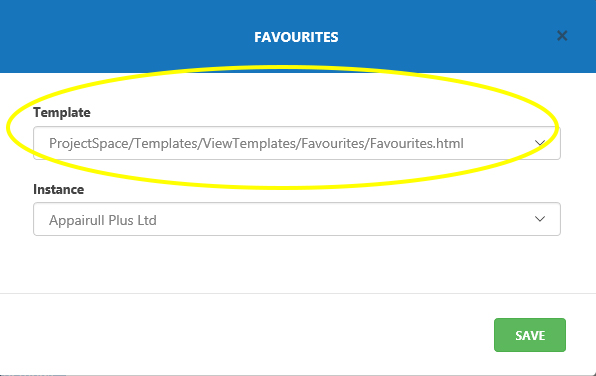
1) First choose the template for the web part.

Wizdom Digital Workplace
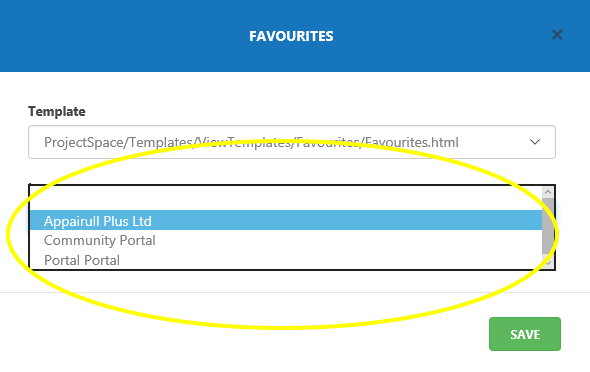
2) Second, in the field ‘Instance’, you define which project unit the web part will display project spaces from.
Wizdom Digital Workplace
3) Press ‘Save’ to save your settings.