Service Desk web part settings
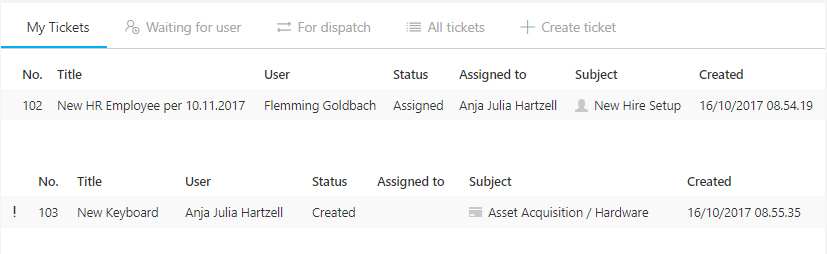
From this overview, users can access details of, respectively, tickets in progress and closed tickets, and, also, create new tickets. Supporters are provided with overview of all cases in one or more service desk(s) and are offered easy access to ticket managing tools.

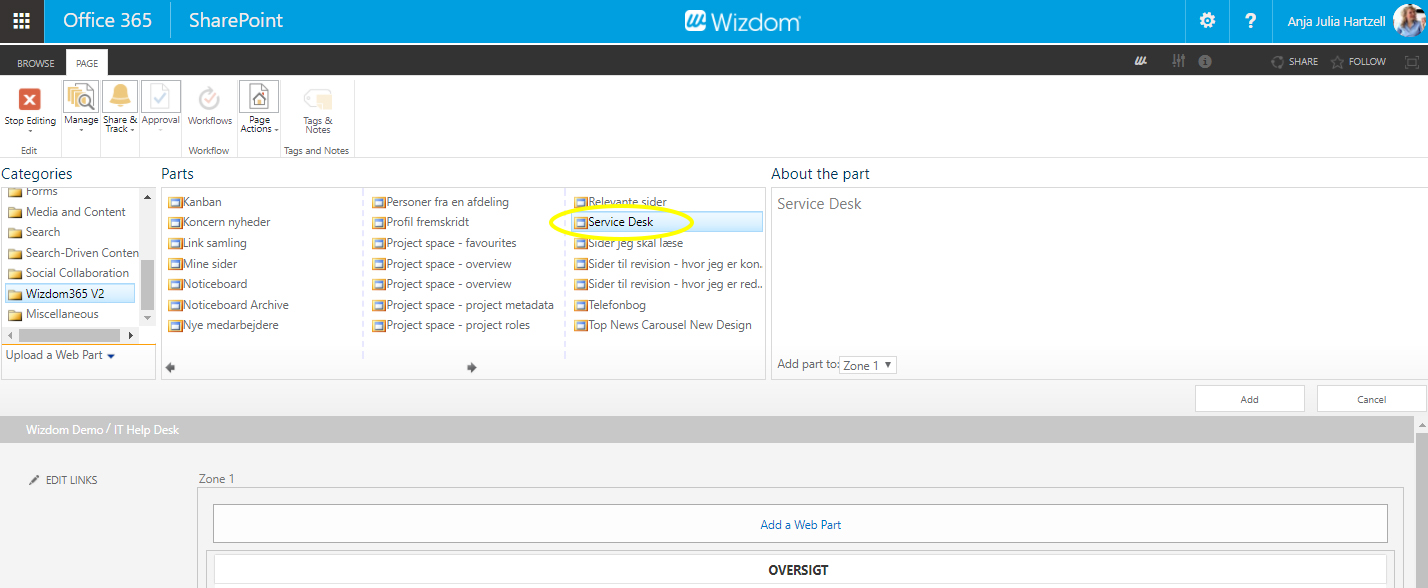
However, if you need to add the ”Service Desk” web part to a page, perform the following steps:
1) Edit the web page and click ‘Add a web part’ to open SharePoint’s web part gallery.
2) The “Service Desk” web part is found in the ”Wizdom” folder.
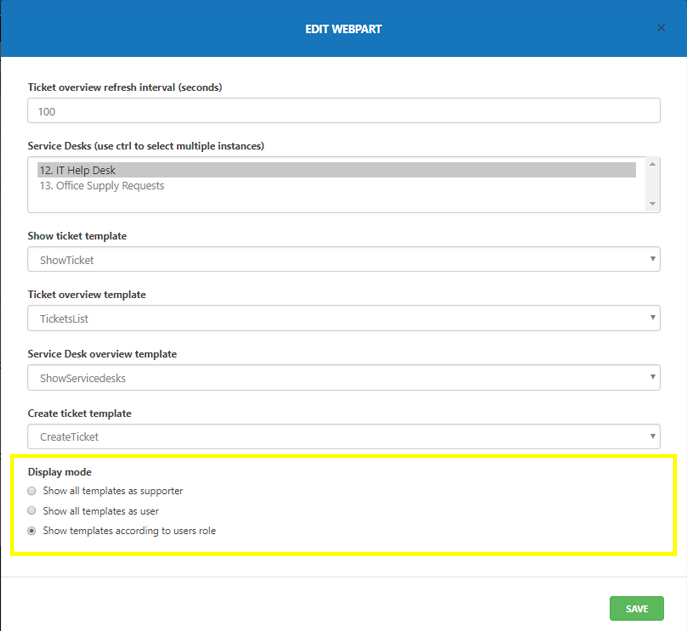
1) Press the ‘Settings’ button in the web part. A window pops up and takes you through the settings.
3) Second, choose which service desk(s) in your solution you want the web part to include. You might want the web part as a tool to manage tickets in all or several service desks in your solution. You can set this up by using the Ctrl key which makes you able to select multiple service desks.
Note: When a landing page is created for a service desk, as part of the process of creating a service desk site, the service desk web part will already be added to the landing page. This service desk web part will per default include the service desk of the current site.
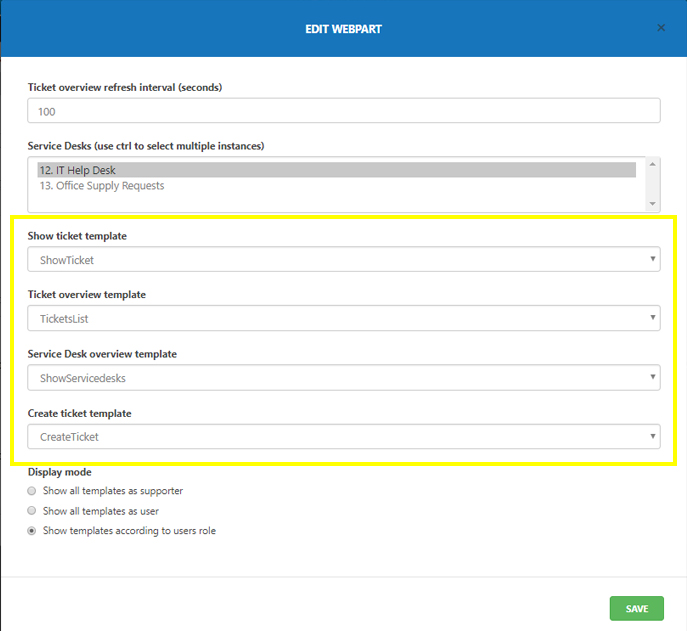
This, however, can be changed under “Display mode”. If set to “Show all templates as supporter”, users as well as supporters will be represented to the extended tools and overviews intended for the supporter role. If changed to “Show all templates as user” users and supporters alike will see the user interface intended for users.
This can e.g. be relevant in cases where you want different web pages, and therefore different web forms, for respectively user’s and supporter’s view of tickets where, also, supporters will be able to follow own tickets with the user’s interface.