Power Panel module settings
Configuring basic settings
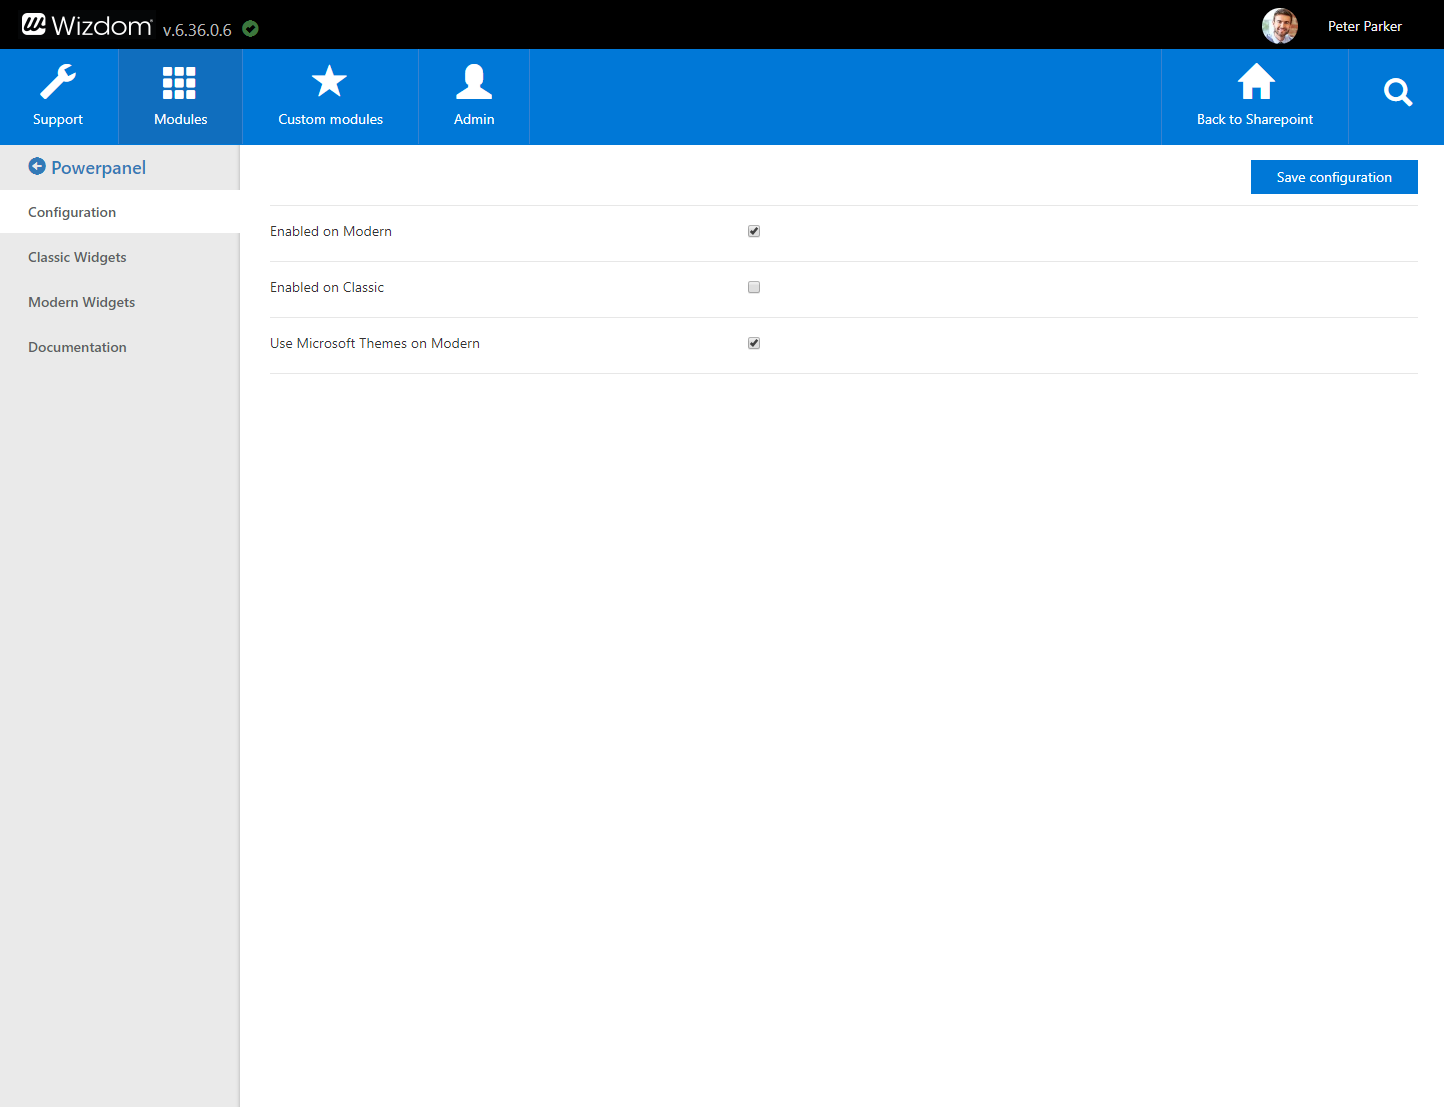
First tab in the Power Panel module administration allows you to configure basic settings.
Ticking Enable on classic, you enable the Power Panel on classic SharePoint sites where it will be available to users.
Settings for multiple configurations
Power Panel supports multiple configurations to enable you to display different panels depending on where you are on the intranet.
For example, you want to have a omnipresent Power Panel for the entire intranet which is the default setup and what we also recommend having.
However, if you have a need where you want to display different panels or 2-3 more panels which are only available from a specific Site Collection you can configure it’s URL in the configuration and configure panels for that specific site.
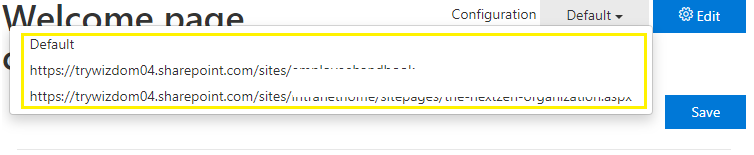
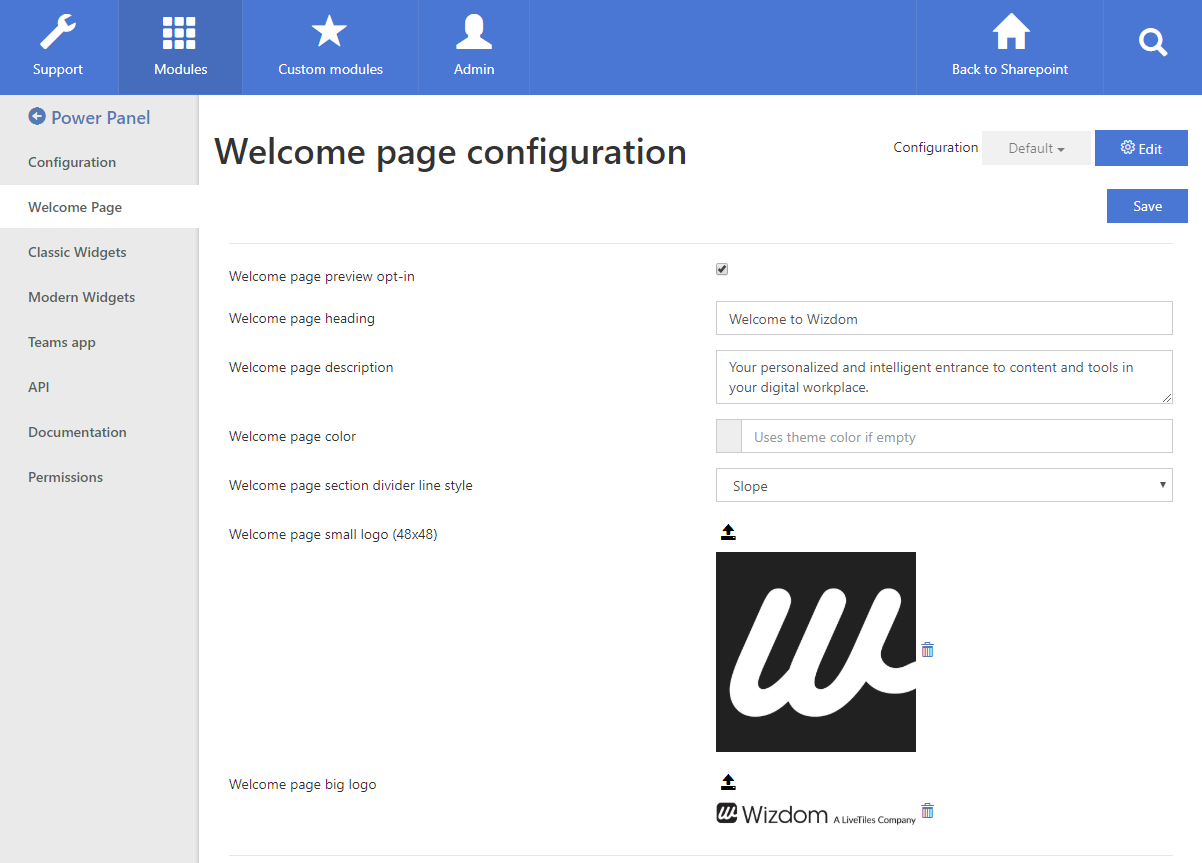
Simply locate the ‘Power Panel‘ module in the Configuration Center and the tab ‘Welcome page’ allows you to customize the design of the Power Panel depending on where it is located in the Intranet. The configuration option in the top right corner can be used to single out a Site Collection in SharePoint and only load that specific configuration while loading a default configuration on all other sites.
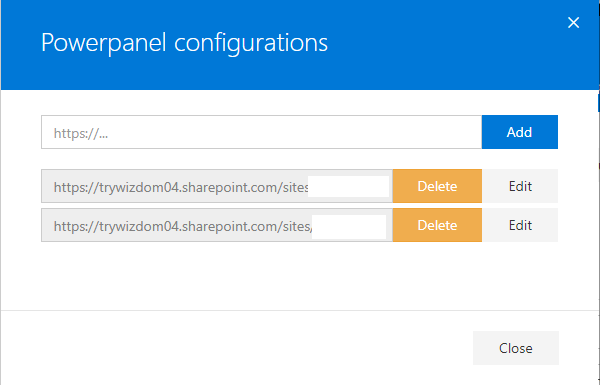
Click ‘Edit‘ in the top right corner.
A box will appear where you can add the URL’s that are linked to the Site Collections you wish to customize.
Once added, you can, in the top right corner, select which URL to configure.
Please note that configurations are only supported for Site Collections and not subsites or specific pages.
Configuring the Welcome Page
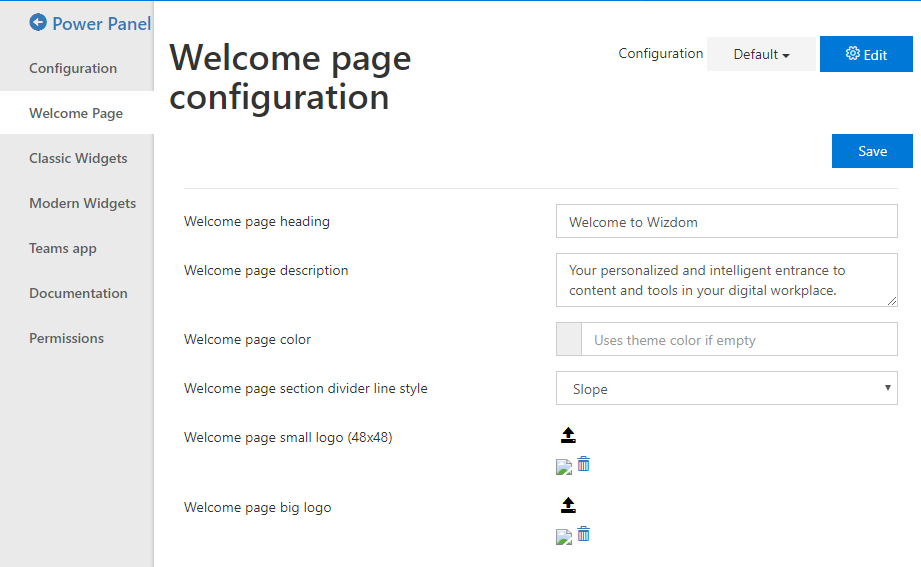
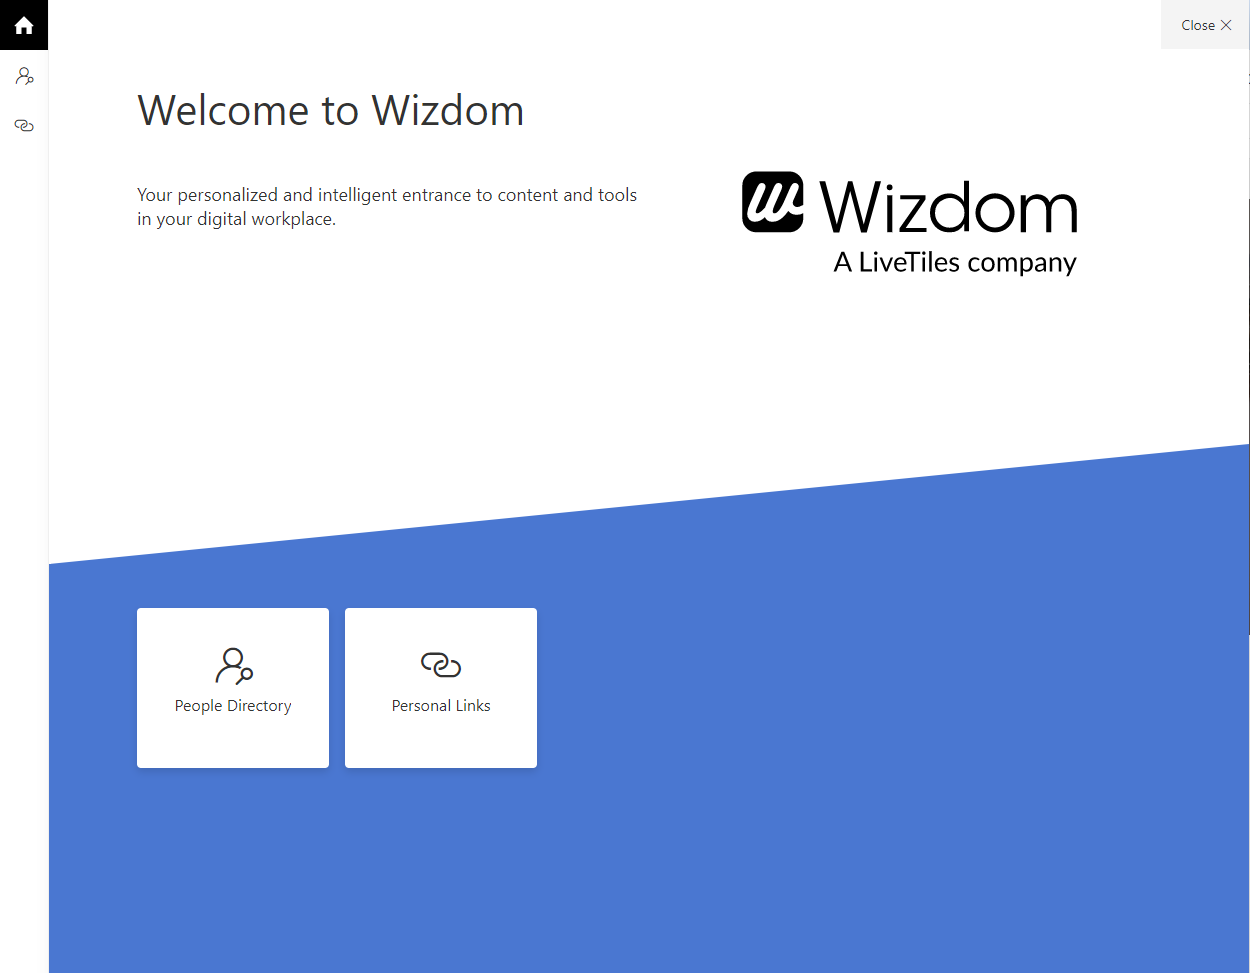
As a natural evolution of the new Power Panel being omnipresent, you can design a Welcome page where it’s possible to use company branding and display a short welcome text, a logo and a list of all the panels with their respective title.
Currently in preview as of Wizdom release 6.39, new installations will have this enabled OOTB while existing customers need to check the Welcome page preview opt-in to enable this feature when upgrading.
Welcome page heading let’s you enter a unique heading for your tenant.
Welcome page description lets you enter a welcome message to your employees.
Welcome page color lets you brand the welcome page to align with your company branding.
Welcome page small logo lets you overwrite the default home icon in the Power Panel that opens the Welcome page panel.
Welcome page big logo lets you decide for a logo displayed on the welcome page together with the heading and description.
Enabling Power Panel in Microsoft Teams app
You can add Power Panel to your line of business apps in Microsoft Teams. This means that the Power Panel can be available to anyone in your organization.
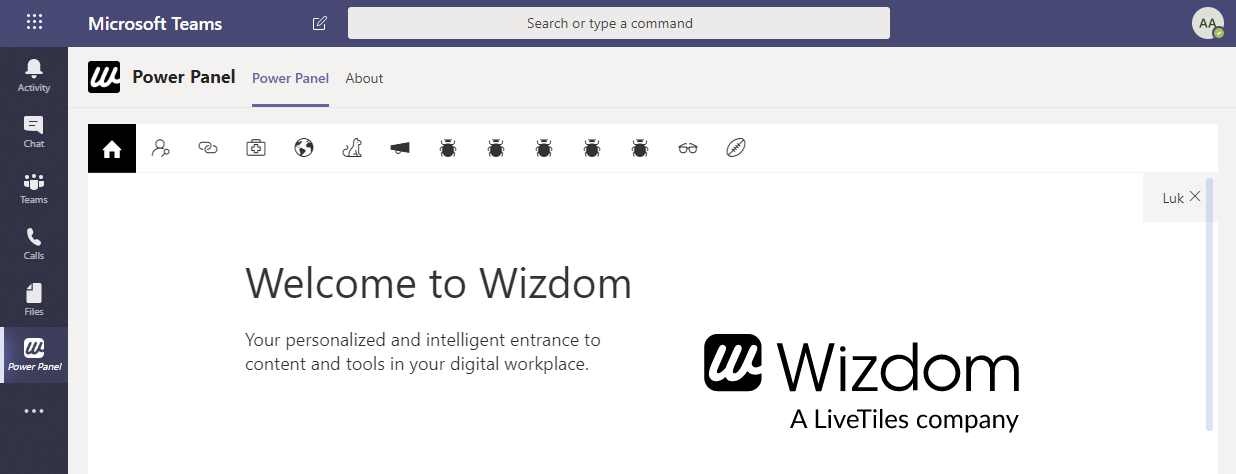
You can configure Power Panel to appear in the left-side navigation menu in the Microsoft Teams application and/or you can add the Power Panel as a tab to individual teams in Microsoft Teams.
Here is an example of Power Panel personal app in the left-side navigation:
Prerequisites:
- Wizdom administrator permissions
- Global tenant
- Microsoft Teams administrator permissions
To enable Power Panel in Microsoft Teams, you’ll have to download the Teams app package and publish the Power Panel app package to the Tenants App catalog.
If you want the Power Panel to be visible in the Teams navigation bar, you’ll have to set up policies and pin the app in the Teams navigation bar. For more about each step, see the following subsections.
Download the Teams app package
1) Navigate to the Wizdom Configuration Center > Modules > Power Panel > Teams app.
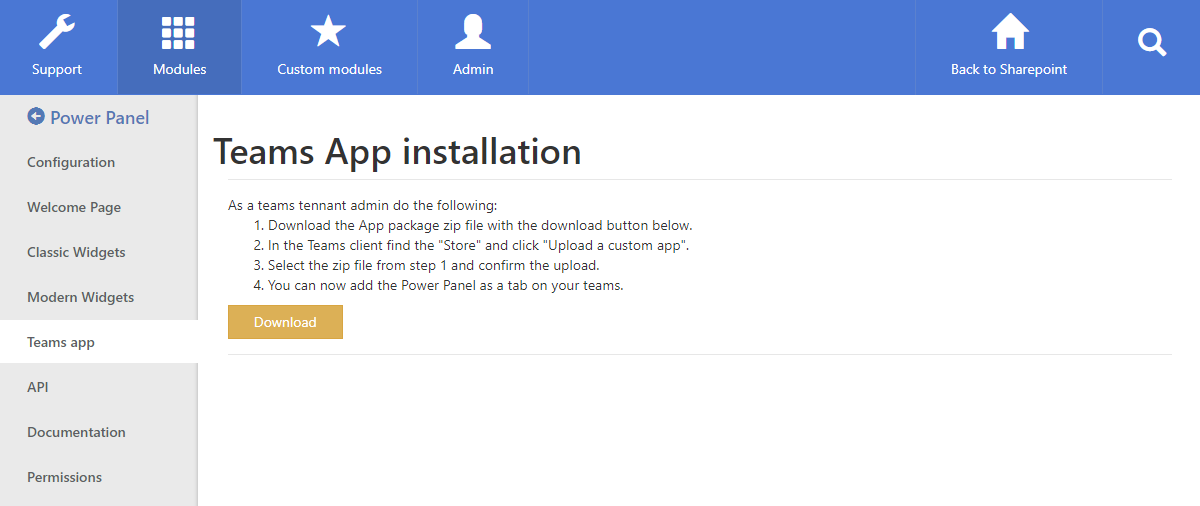
2) Click the Download button, and save the app package to your desktop.
Publish the Power Panel app package to the Tenant Apps catalog
1) Start the Microsoft Teams client, and sign in using your global or Teams service admin account.
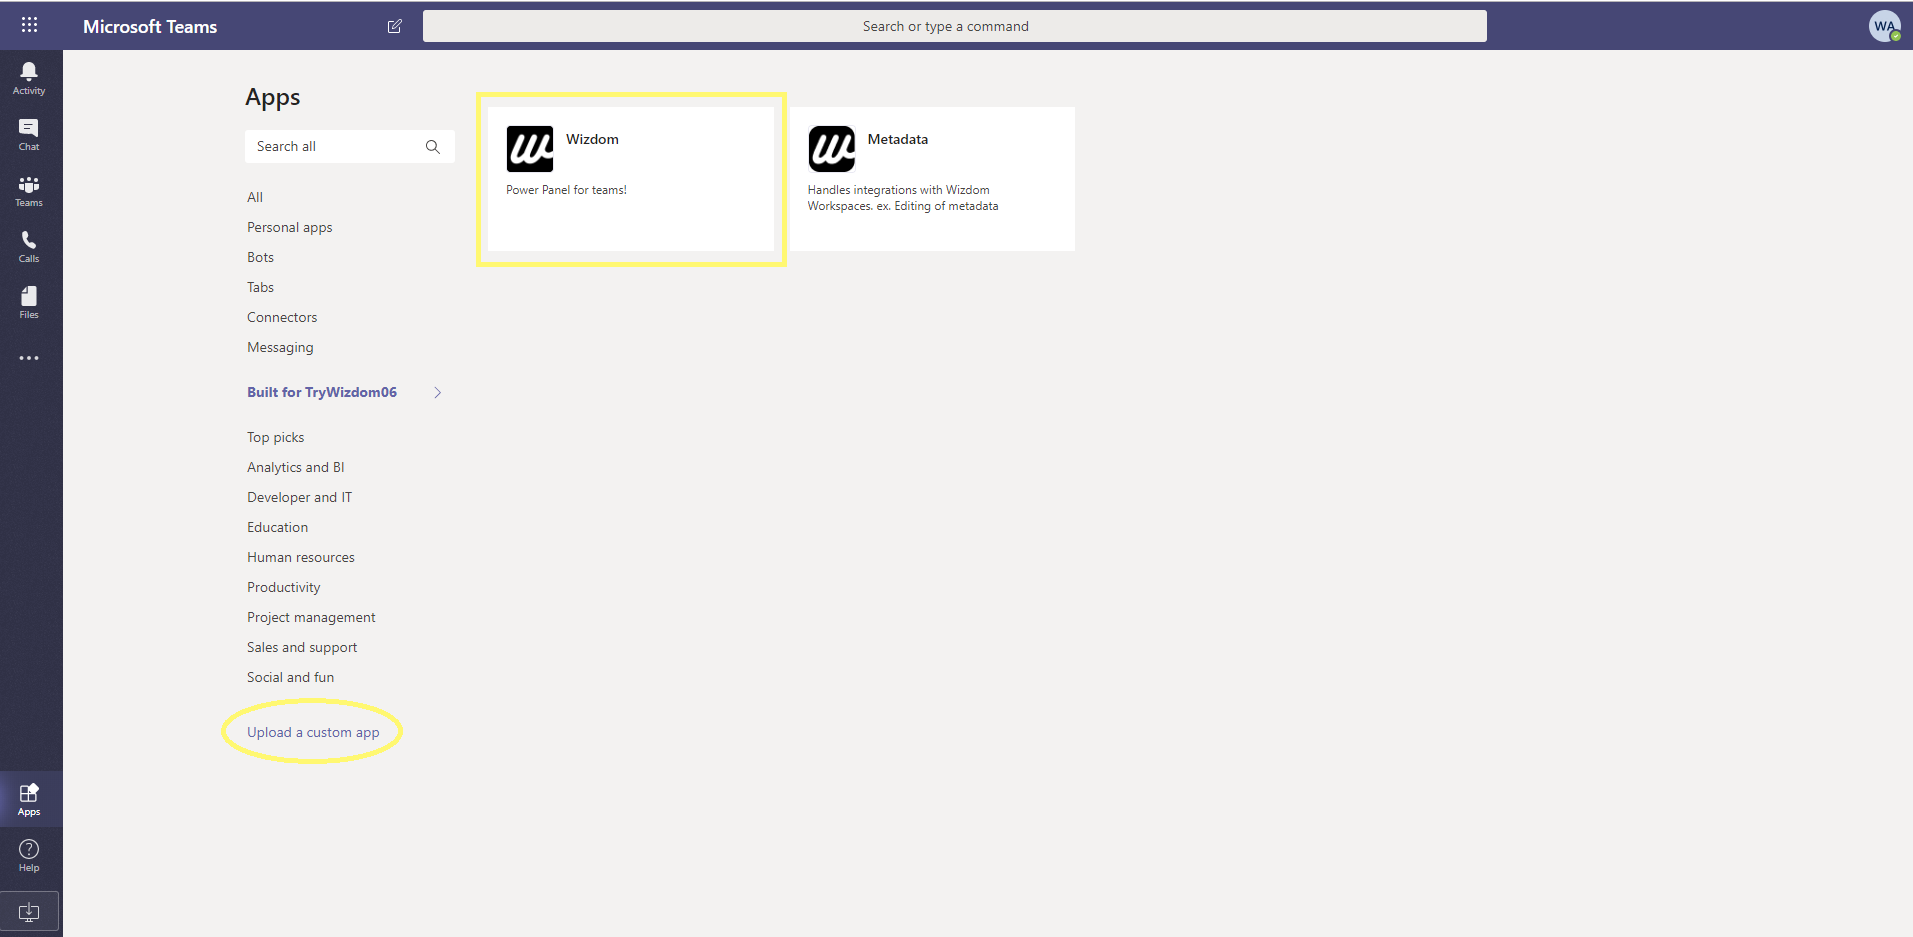
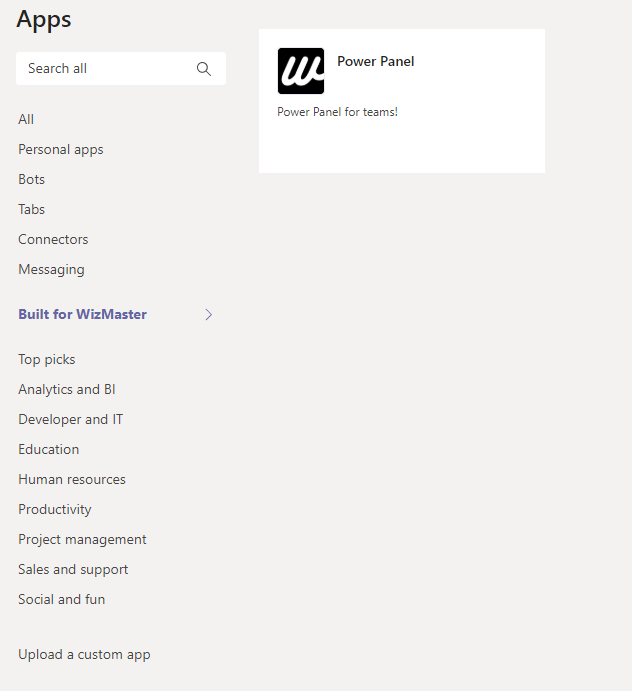
2) On the bottom-left side of the app, select Apps.
3) On the Apps page, select Upload a custom app > Upload for <<your organization name>>. If you want to make Power Panel available to only specified teams, select Upload for me or my teams instead.
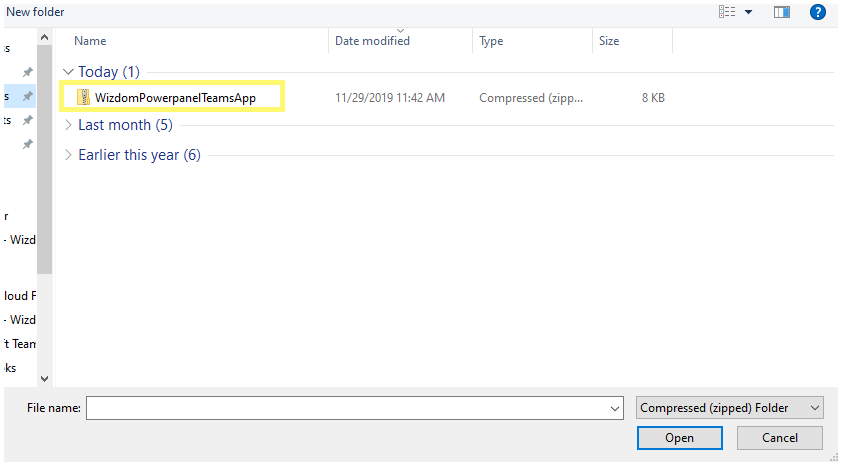
4) In File Explorer, select the app package that you just downloaded and saved to your desktop, and click Open.
Once the app is uploaded, it will be available in Teams > Apps > Built for <<your organization>>. From here, you can update, delete or add the app.
NOTE: If you have uploaded the app from Wizdom v. 6.39, you need to delete this app and download the Power Panel zip file again to upload the newer version.
Note: If you add the app from this interface, you only add it for your specific user. If you want to set up policies to distribute the app and make it available from the left side of the Teams app, see the section below “Set up policies and pin the app in the Teams navigation bar”.

Set up policies and pin the app in the Teams navigation bar
1) Navigate to the Microsoft Teams admin center, and sign-in using your Teams admin service account.
2) In the left navigation, go to Teams apps > Setup policies.
3) In the Pinned apps section, click Add apps, and search for the Power Panel. Click the Add button to save your changes.
4) Arrange the apps in the order that you want them to appear in Teams, and then click Save.
To learn more about managing apps in Microsoft Teams, see the Microsoft Teams documentation.
Known issues:
Users need Read access to the root SharePoint site for the personal app to work as expected, for example, https://contoso.sharepoint.com.
Common challenge:
Layout’s server IP address could not be found.

If the user is unable to add the Wizdom app to Teams, it usually involves a server connection problem with SharePoint. To resolve this issue, simply press ‘Files’ or one of the other tabs, so the connection can be re-launched. Then go ahead and add the application again.