Noticeboard module settings
A lot goes on behind the scenes in Noticeboard. From Wizdom Configuration Center, you manage global settings for the Noticeboard module. In this guide, we will walk you through the configuration options for Noticeboard in Wizdom Configuration Center.
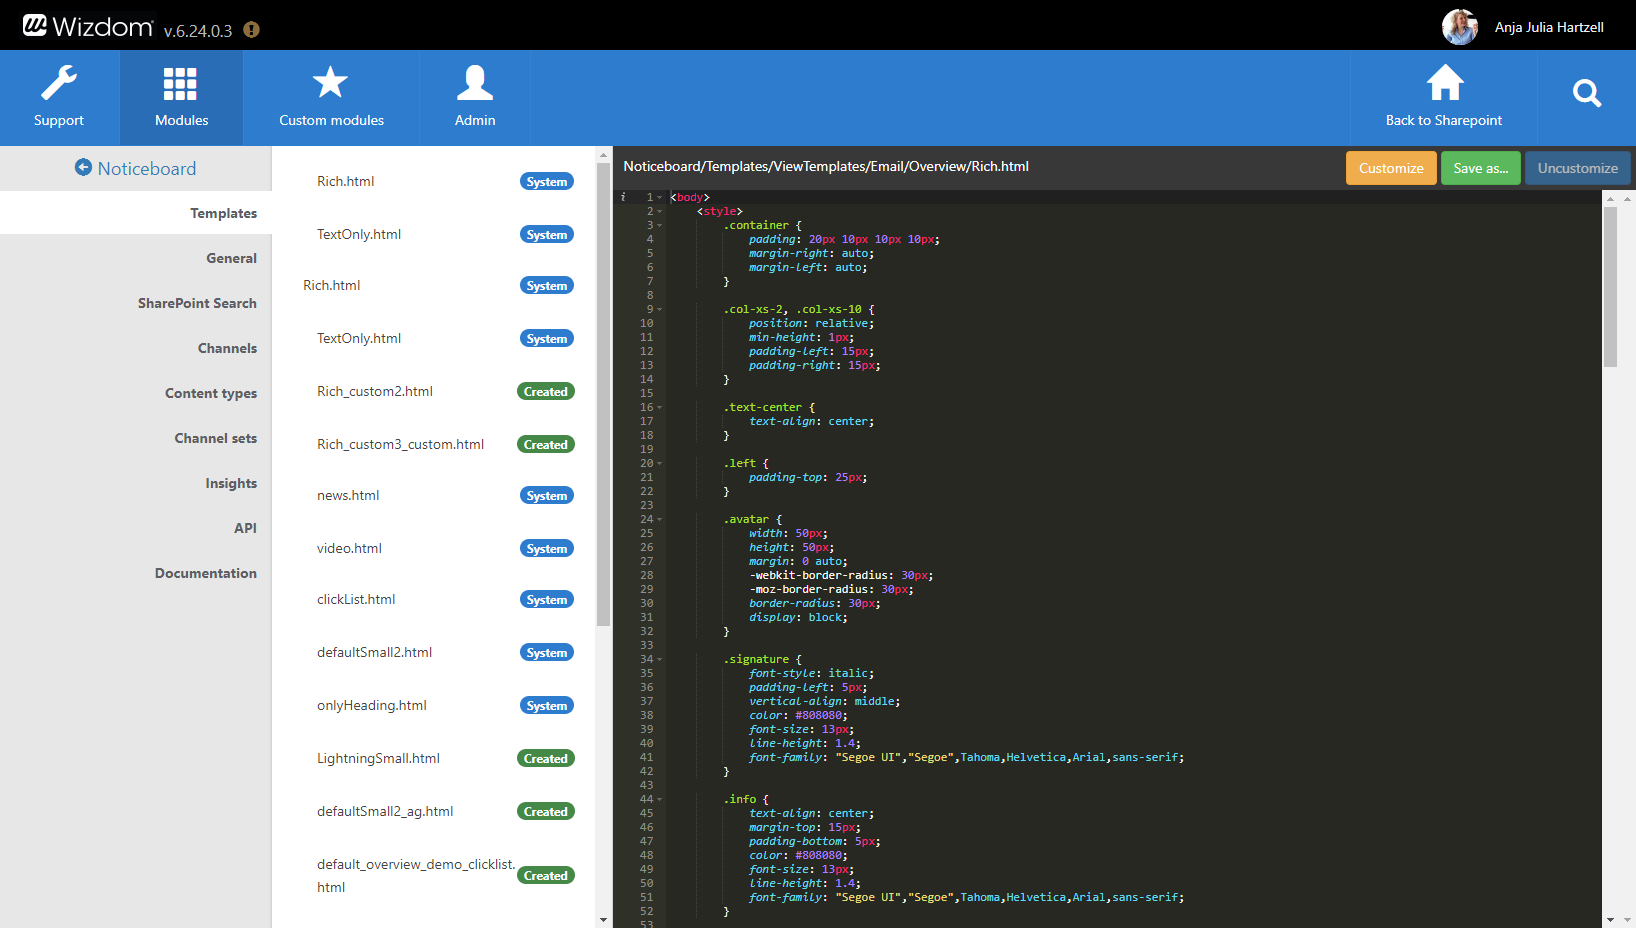
Configuring templates for the Noticeboard module
In Wizdom Configuration Center, you can define and customize the look, feel, and functionality of the Noticaboard module by the means of templates.
The Noticeboard module includes a selection of pre-defined templates.
You find an overview of templates for the Noticeboard module under ‘Templates’ and ‘Social Templates’ in the Wizdom Noticeboard module.
From here, you can edit existing templates and create new.
General Noticeboard settings
Under the area ‘General’ in the Noticeboard module in Wizdom Configuration Center, you have access to setting up basic settings for the Noticeboard module.

Under ‘Administrators’, you manage administrator rights. Noticeboard administrators are not included in the security trimm of Noticeboard channels and are provided the right to see and write in all Noticeboard channels, even though they, as users, have unique permissions.

This page will be the default archive page of the Noticeboard module and the value of this field will be used in all web parts if it is not overridden by the web part properties.

Under ‘Social Functionality’ you manage the enterprise social features of Noticeboard.
If ‘Enable Social Functionality’ is ticked, the comment and like functionality is enabled for the Noticeboard module. If this option is ticked, you can choose to tick or untick the following:
‘Enable comments in the Noticeboard Overview panel’ will enable users to comment news from the news overview, without the need of opening the news first.
When writing a news, users can choose to allow or disable comment and like functionality on that particular news. If ‘Allow social by default on items’ is ticked, comments and likes are enabled per default and users will have to actively disable this if they don’t want their news to be liked or commented.
‘Allow replies to comments‘ and users will be able to write a reply directly to a specific comment.

If ‘Reset read status when items are updated’ is ticked, a news will get the status as unread in all users’ news feed if the content of the news is edited after it is published.
Ticking ‘Include External Users to the Everybody scope‘ will include external users in the ‘Everybody’ scope, which is used in specifying default channel permissions under the ‘Channels’ tab.
In order for the Noticeboard module to be able to notify users of new news, comments, and @mentions, ‘Enable Notifications’ will have to be ticked.

Noticeboard automatically stores news locally for the user, so that they load faster next time. However, if there is a change in the news feed, everyone’s chache will be deleted. This function can be turned off by ticking ‘Disable clearing of all personal caches on news change‘.
Including Noticeboard news in SharePoint search
Some modules, like e.g. the Noticeboard Module, stores its data in Wizdom’s SQL database. To be able to include data from these modules in general search results of your intranet, a datastore site collection is created as part of the Wizdom installation process. This datastore site collection is a hidden site collection that includes a timer job which will push the necessary data from Wizdom’s SQL database to SharePoint. In this way, this data can appear in the general search result of your SharePoint intranet.
However, in order for Noticeboard news to be displayed as search results in SharePoint’s search center, you’ll need to enable this in the Wizdom Noticeboard module administration.
To enable Noticeboard news to be displayed as search results in your intranet’s search center, perform the following steps:
1) Go to the ‘SharePoint Search’ area in the Noticeboard module administration in Wizdom Configuration Center. This will bring you to the SharePoint search configuration options for the Noticeboard module.
2) Under the ‘Search centers’ area in the ‘Search Center URL’ field, enter the URL of the Search Center(s) that you want to display Noticeboard news i search results.
3) In the ‘Noticeboard results redirect URL’, enter the URL of the web page you want to display Noticeboard news when the news is opened from the search result. When users press a Noticeboard news item from the search result, the news item will open on top of this page. A good practice is to enter the URL of a web page with a relevant Noticeboard archive.

a) In order for SharePoint to properly show content as results in the search center, the content will need to be connected to a managed property. As part of the process, managed properties for, respectively, news channels, news content, and news item ID are therefore created on tenant level.
b) The display templates ‘Item_NoticeboardAppModel.html’ and ‘Item_NoticeboardAppModel_HoverPanel.html’ are added and published on the Search Center(s) on site collection level. This enables Noticeboard items to be displayed correctly in search results.
c) The result type ‘Wizdom Noticeboard News’ is added to the Search Center on site level. This enables Noticeboard news to be displayed in search results with the right display template and users to filter search results on the basis of the content type ‘Noticeboard News’.
d) The value ‘wizdom365_noticeboard_display_item_path’ is set to the value of ‘Noticeboard results redirect url’ from the configuration. This will make the search result display templates display the full URL of the location, from where users will read the Noticeboard news item, when clicking it from the search result.
NOTE: Action a-c is done in context of the current user. As these steps require the current user to be site collection administrator of the Search Center site and tenant administrator, a user with this set of rights will need to perform the SharePoint search configurations.
If this process fails, the SharePoint Search configuration includes a couple of tools that can help you out:
1) In order to make news items findable through SharePoint search, all Noticeboard news are syncronized to SharePoint. The section ‘Index’ lets you force SharePoint to perform a full syncronization next time the news items are indexed. This will make SharePoint reindex the news items. The result can be that vital information, which perhaps wasn’t indexed before, like news item ID, will now be indexed and shown in search results.
NOTE: Performing this action, no news will be shown in the search result before SharePoint has reindexed all news items.
2) The section ‘Search Configurations’ allows you to download files to import on respectively, the Search Center and tenant. These files should correctly configure the settings that should have been set in the process described above.

This ensures that only relevant news are displayed to users. You design the channel structure of your digital workplace by defining channels and subchannels. Here, we will show you how to manage channels for your digital workplace solution.
To manage the news channels of your solution:
Go to the ‘Channels’ area in the Noticeboard module in Wizdom Configuration Center.
Managing Noticeboard channels
Noticeboard news are organized in news channels. Through an advanced subscription system, users are subscribed to news channels that are relevant for them. Also, different instances of Noticeboard news list web part can display a different set of channels.
This ensures that only relevant news are displayed to users. You design the channel structure of your digital workplace by defining channels and subchannels. Here, we will show you how to manage channels for your digital workplace solution.
To manage the news channels of your solution:
Go to the ‘Channels’ area in the Noticeboard module in Wizdom Configuration Center.

First, define the default permissions for all channels. Here you define who in your organization per default will have rights to read and write news in all channels.
NOTE: These default settings can be overwritten for each individual channel.

Delete, edit, and create sub channels to a channel
Under ‘Channels’ you will see all news channels created for your solution. You can delete a channel by pressing ‘Delete’; create a sub channel to a channel by pressing ‘Create channel’ on the row of the parent channel; edit setup of a channel by pressing ‘Edit’; and define who will have permission to read and write news published in a channel by pressing ‘Permissions’.
Note: When you create a sub channel to a channel, permissions will be inherited from the parent channel.

To create a new channel, perform the following steps:
1) Scroll down past all the channels that are already created and click on the blue button with the text ‘Create channel’.
2) In the box that appears, type in the name of the channel you want to create.
3) Decide whether you want the channel to be a sub channel to another channel.
4) If the box ‘Can contain items’ are ticked, users, with permissions to do so, will be able to publish news from that channel. If you just want to create the channel to organize other channels, but doesn’t want news published from that channel, you need to untick this box.
5) Define the content type for the channel. You can let the channel display news with and without video, limit the channel to only display certain content types, or create the channel as a RSS channel or an Office 365 video channel.
6) Click ‘Save’ and the channel is created.

Mandatory and suggested channels
Managing which users will be exposed to which news is an important part of the Noticeboard subscription management system. By setting news channels to be respectively mandatory or suggested for specific users or groups of users, administrators are able to ensure that users are only subscribed to relevant news.
If a channel is set to mandatory, the users, it’s mandatory for, can’t unsubscribe from this channel and will have all news, that are published in this channels, shown.
If a channel is suggested, users, it is suggested to, will, also, have news, which are published in this channel, shown. However, users can unsubscribe from this channel to prevent news, that are published in this channel, from being shown to the user.
If a channel is neither mandatory nor suggested for a user, the user will be able to manually find the channel in question and subscribe to it, if the user has reading rights to the channel.
When creating a news, mandatory and suggested news channels will always be visible in the news creation interface. Channels that are neither marked as mandatory nor suggested, but still are included in the channel set a web part displays, will only be visible when news authors click the ‘Show all channels’ button.

Channel sets and notification management
By the means of Channel sets in Wizdom Configuration Center, you can create a group of channels with predefined settings for mandatory and suggested channels. Channel sets also let you manage notifications.
This means, that channel sets can help you in two aspects.
1) You can create a predefined group of channels with predefined settings for mandatory and suggested channels that you want multiple Noticeboard web parts to display. For administrators, this will be a way to deal with channel settings from a central place, instead of having to adjust channel settings for each individual Noticeboard web part in the solution.
2) You can use channel sets to control which users will get e-mail notifications and top bar notifications from which Noticeboard channels.
To create a channel set, take the following steps:
1) Go to the ‘Channel sets’ area in the Noticeboard module in Wizdom Configuration Center. Here you can edit and delete existing channel sets as well as create new channel sets.

2) To create a new channel set, click the ‘Create channel set’ button.
3) In the box that appears, type the name for your channel set. Your channel set will be created and appear at the list among with other channel sets in the solution.
4) To decide which channels will be included in the channel set, click the ‘Edit’ button on the row of the channel set.

5) In the box that pops up, click on the channels you’d like to include in the channel set. For each channel you include, you need to tick the box ‘Display this channel (including all parents)’. An eye icon appears next to the channels you have chosen to include in the channel set.
Note: If you don’t tick the ‘Display this channel (including all parents)’ box for any channels, all channels in the solution will be included in the channel set.
6) Decide whether the channel will be mandatory and suggested for ‘none’, ‘Everybody’, or ‘Selected’ users/user groups.
An i-icon appear next to the channels marked mandatory for some or all users/user groups.
A flag-icon appears next to channels marked suggested for some or selected users/user groups.
7) Click ‘Close’ and the channel set you have defined is set up.

You manage notifications settings by deciding if a channel set is used for respectively ‘Email notifications’ or ‘Notifications’ (top bar notifications).
Tick the ‘Use for Email Notification’ and ‘Use for Notification’ radio buttons to make the channel set send notifications.
Note: The ‘Email Notification’ field only appears if email notifications are enabled.

A good practice is to create a channel set for respectively email notifications and top bar notifications.
E.g. for managing email notifications, you create a channel set that includes all channels for which you want users to be able to receive email notifications. This is a way to control which channels should be able to send email notifications instead of just sending email notifications every time a news is published in any channel.
You create the channel sets for email notifications and top bar notifications as you create other channel sets. This means, you choose the channels you want in the channel set and decide if these channels should be suggested or mandatory for any users or user groups.

If a channel is mandatory for a user in the email notifications channel set, the user will receive notifications every time a news is published in this channel. The user will not be able to unsubscribe from this.
If a channel is suggested for a user in the email notification channel set, the user will receive notifications every time a news is published in this channel. However, the user can unsubscribe from receiving these emails.
If a channel is neither mandatory nor suggested for a user in the email notification channel set, the user will have to manually subscribe to this channel to receive notifications when news are published in this channel.
NOTE: If your channel set for top bar notifications differ from the channel set a Noticeboard web part on a web page uses, users can get different notifications in the web part and in the top bar.
Content types
The Noticeboard module includes four different content types that offer different options for news content.
The News content type is the standard news template that includes title, content and the option of adding a picture to the news that will be shown in the news overview.

The Video content type also offers a field to insert the URL of a video and the option of adding a preview image for the video that will be shown in the news overview.

The RSS content type allows admins to create a news channel that automatically displays news based on a RSS feed.
The Office 365 video channel content type allows admins to create a news channel that automatically displays new videos added to a specified video channel in Office 365 video.
Developers are able to extend properties for the four content types
Go to the area ‘Content types’ in the Noticeboard module in Wizdom Configuration Center. Here you find an overview of all content types.

Click the ‘Edit’ button and in the window that appears a developer can write in the extended properties.

Noticeboard insights
View metrics for most active reader, most read news, most commented news, most used news channels, and most active author.
