Learning & Events web parts settings
Configuring the Event Overview web part
The Event Overview web part provides users and course administrators a tool that offers overview of and access to all relevant details and tools to support the event planning life cycle.
From this overview, users get an filterable overview of courses and events offered. Course administrators are offered an easy access to event management tools.

Per default, the Event Overview web part is added to the landing page of the Event Catalog site.
However, if you need to add the Event Overview web part to a page, perform the following steps:
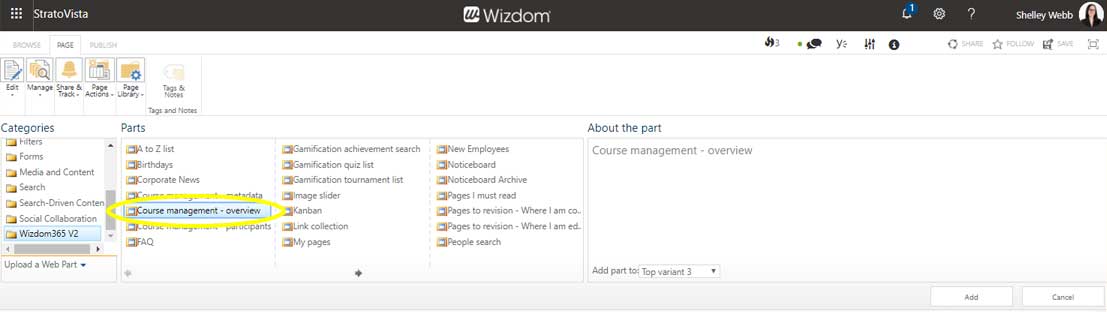
1) Edit the web page and click ‘Add a web part’ to open SharePoint’s web part gallery.
2) The Event Overview web part is found in the ‘Wizdom’ folder.
To configure the event overview web part:
1) Press the ‘Settings’ button in the web part. A window pops up and takes you through the settings.
Template: Select template for the overview of courses and events.
Filter template: Select template for the web part’s filtering functions.
New site dialog template: Select template for the dialog, course administrators are taken through, when establishing a new course or event.
Instance: Select the Course Catalog you want the course overview to display courses and events from.
Courses per page: Specify how many courses and events you want the overview webv part to show per page.
Selected metadata filters: Select the metadata filters you would like users to be able to use to narrow down courses and events in the overview.
Selected role filters: Select the roles you would like users to be able to use to narrow down courses and events in the overview.

Configuring the Event Participants web part
The ‘Event Participants’ web part provides an overview of all users registered for a course or event.
From this overview, course administrators are provided with tools to manage course and event participants.

Per default, the Event Participants web part is added to landing pages of Courses and Events.
However, if you need to add the Event Participants web part to a page, perform the following steps:
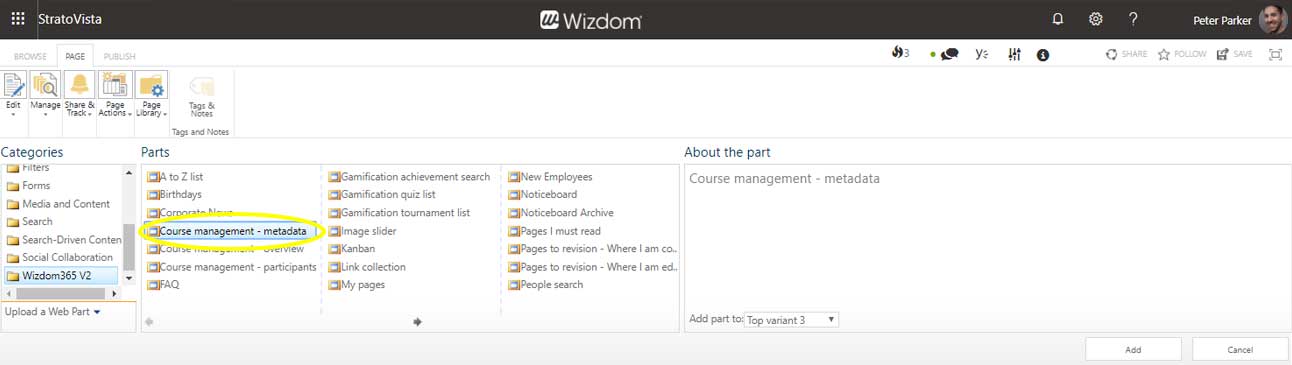
1) Edit the web page and click ‘Add a web part’ to open SharePoint’s web part gallery.
2) The Event Participants web part is found in the ‘Wizdom’ folder.

To configure the Event Participants web part, perform the following steps:
1) Press the ‘Settings’ button in the web part. A window pops up and takes you through the settings.
Template: Select template for the web part.
SharePoint web id (GUID): The web ID of the Course Catalog’s subsite. When the web part is added per default to an event or course landing page, this ID is automatically added.
Show max number of members per role: Specify how many participants the web part will display.

Configuring the Event Details web part
The ‘Event Details’ web part provides an overview of details for a course or event like time, place, and teacher.
From this overview, course administrators are provided with tools to manage course details.

Per default, the Event Details web part is added to landing pages of Courses and Events.
However, if you need to add the Event Details web part to a page, perform the following steps:
1) Edit the web page and click ‘Add a web part’ to open SharePoint’s web part gallery.
2) The Event Details web part is found in the ‘Wizdom’ folder.
To configure the Event Details web part, perform the following steps:
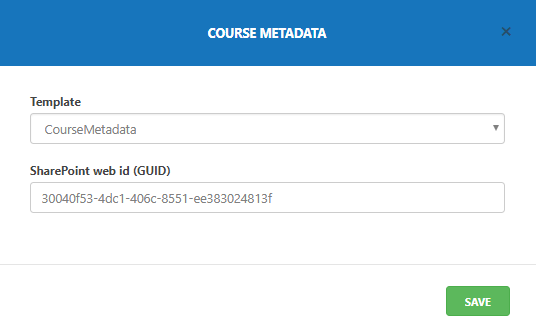
1) Press the ‘Settings’ button in the web part. A window pops up and takes you through the settings.
Template: Select template for the web part.
SharePoint web ID (GUID): The web ID of the Course Catalog’s subsite. When the web part is added per default to an event or course landing page, this ID is automatically added.