Integrating project metadata from the Wizdom Workspaces module with Teams
In this article
Introduction to the integration tool
Previously, the Workspaces module was not fully connected with Microsoft Teams, which made it difficult to manage metadata and store valuable information. Now, we have taken the first steps towards integrating Microsoft Teams with the Wizdom Workspaces module.
In order to create a seamless experience and an efficient work environment within both Teams and Workspaces, our developers have released an extension to the Workspaces module. The update lets you integrate project metadata from Workspaces into the Teams application.

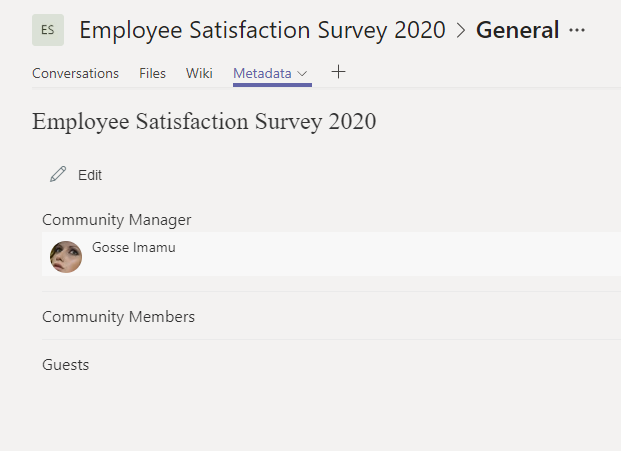
The app works as a tab inside the team. From this tab, team members can manage and get an overview of project metadata – exactly like they are able to see project information from the web part in a SharePoint site.
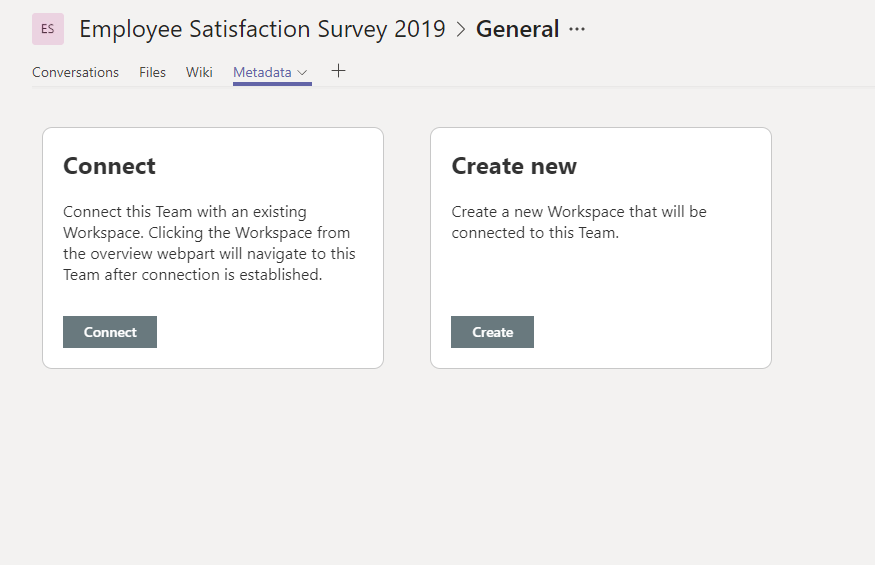
But, more importantly, from a governance perspective, in setting up the app for a team that is not yet connected with Wizdom, you automatically connect the team with a Wizdom Workspace. This means the team will now be included in the Wizdom workspaces overview and governance mechanism.
By integrating project metadata from the Wizdom Workspaces module with Teams, this update of Wizdom includes features that represent the first step in our vision to deliver a complete governance layer for Microsoft Teams.
The app is a web part extending Teams, and requires manual installation which the following section will guide you through.
Installation guide
The new feature is an additional tab that becomes visible in Teams once the intranet administrator has completed the installation.
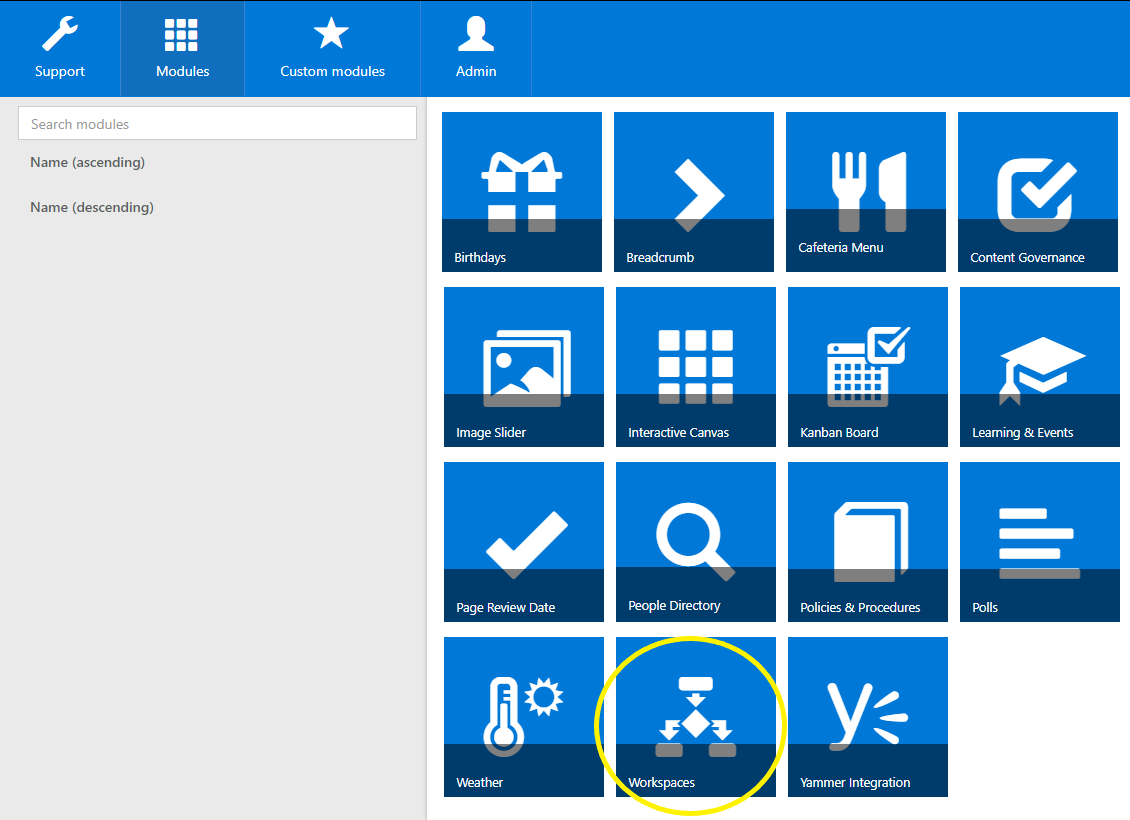
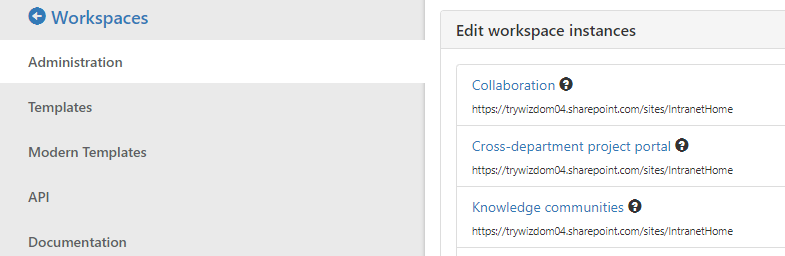
1) In the Wizdom Configuation Center, find the Workspaces module and click your way to ‘Administration’ to edit your Workspace instances.
2) In the list you will see all the workspace instances your intranet holds. Click on the one you want to install the app to.
3) Then click ‘Workspace types’ and chose the type you want to edit.
4) You will then be presented an overview of the workspace including the name, image, description, and its template.
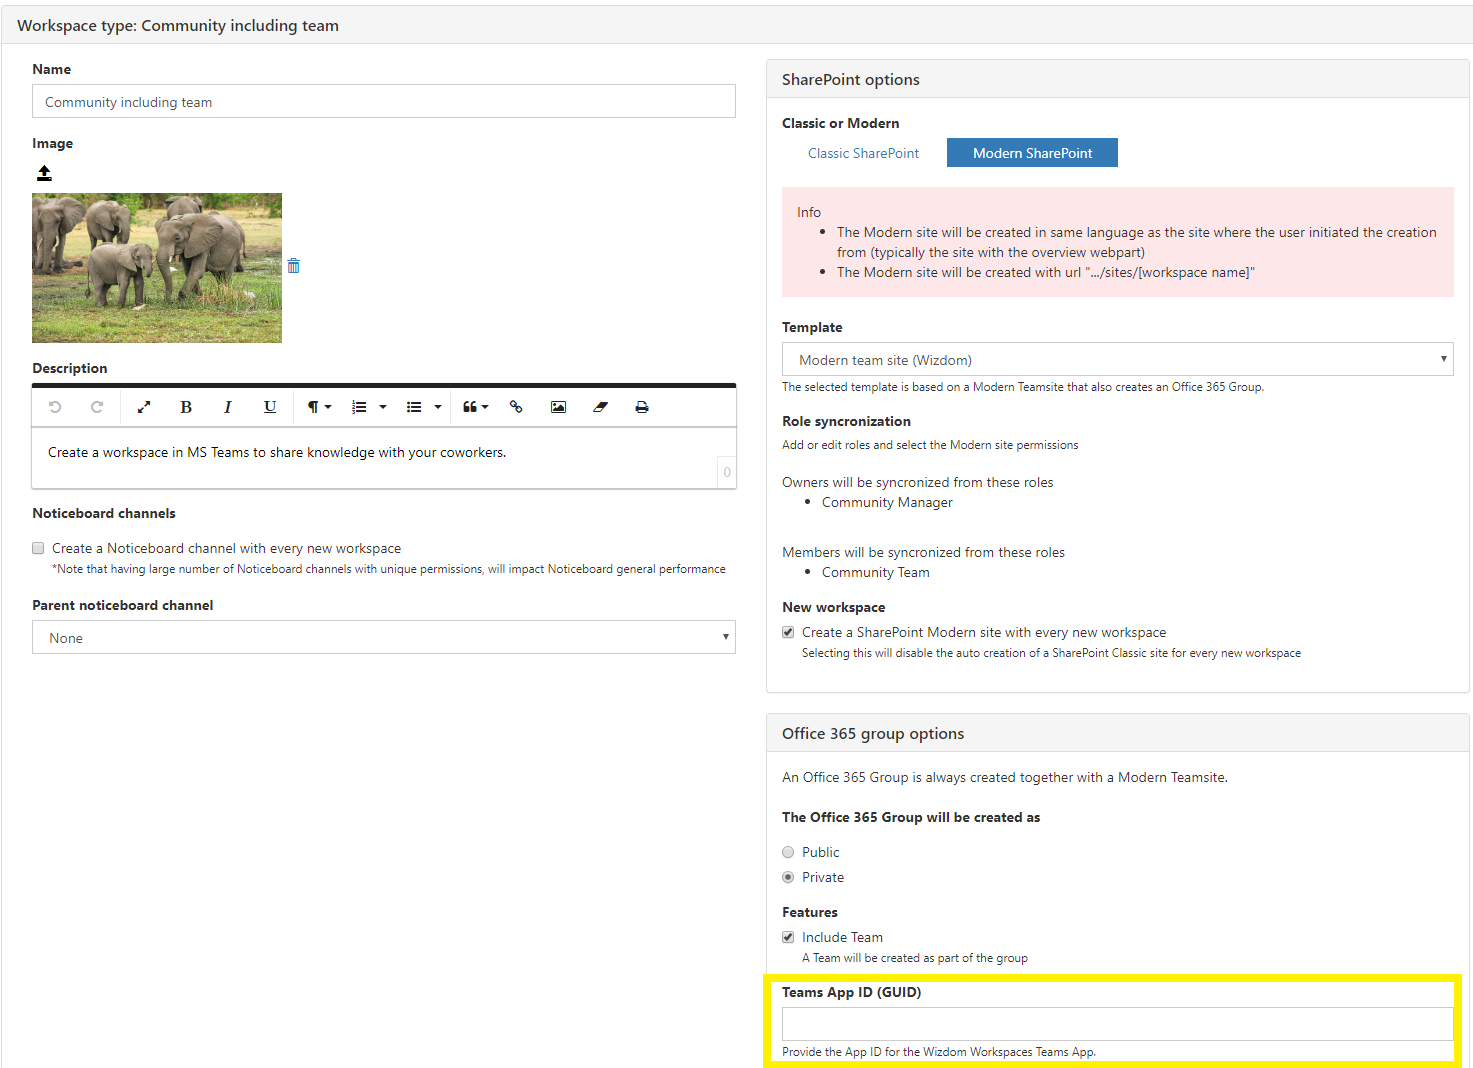
5) Under ‘Office 365 group options’, make sure that the box ‘Include Team’ is ticked and a team will be created as part of the group.
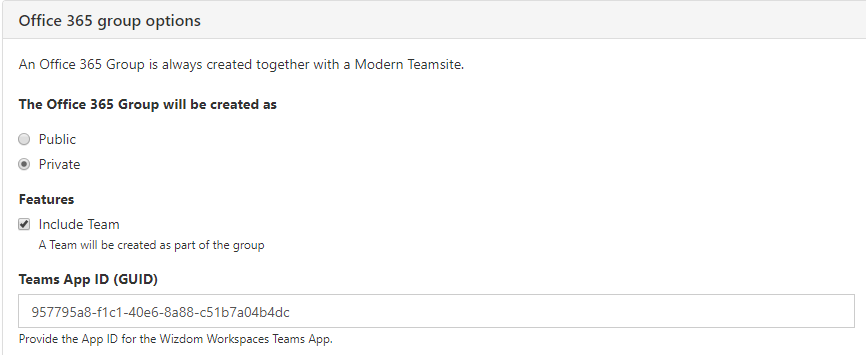
6) Next, there is an input field called ‘Teams App ID’ where the app ID should be inserted. The ID number can be received once it has been uploaded to the catalogue. The intranet administrators are the only ones who can provide users with this ID number.

Download the App and retrieve the ID number:
1) Download the App package zip file that is presented in the module settings.
2) In the Teams client find the ‘Apps’ and click ‘Upload a custom app’. The entire zip file must be uploaded, and you can choose between uploading to the whole tenant or to a selection of people.
3) Locate the app in the store once it is uploaded uploading and click ‘Copy link’.
4) The link will contain a string of letters and numbers that is the App ID that needs to be provided in the App ID field. Link example: https://teams.microsoft.com/l/app/[APPIDNUMBER].
5) The uploading of zip folder must only be done once, whereas the ID string must be inserted several times among users and across different Workspace types.
6) As soon as the App ID is inserted and the box ‘Include Team’ is ticked any new Workspace of that type will create a Team.
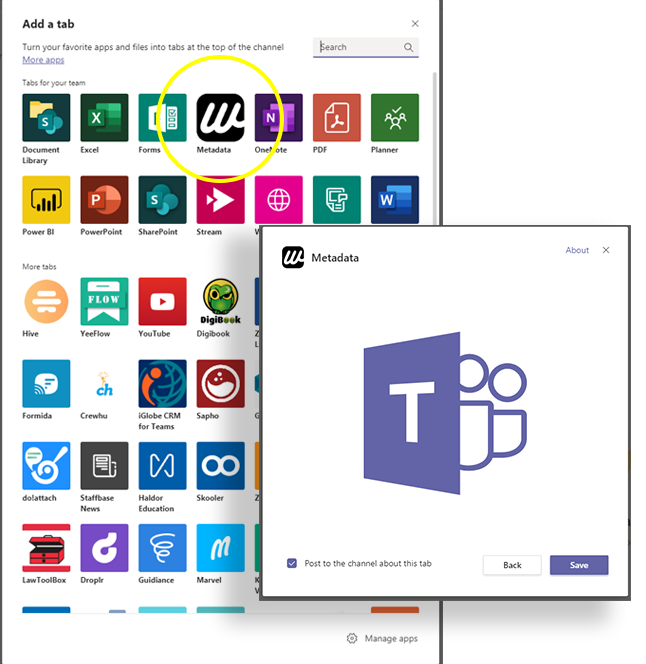
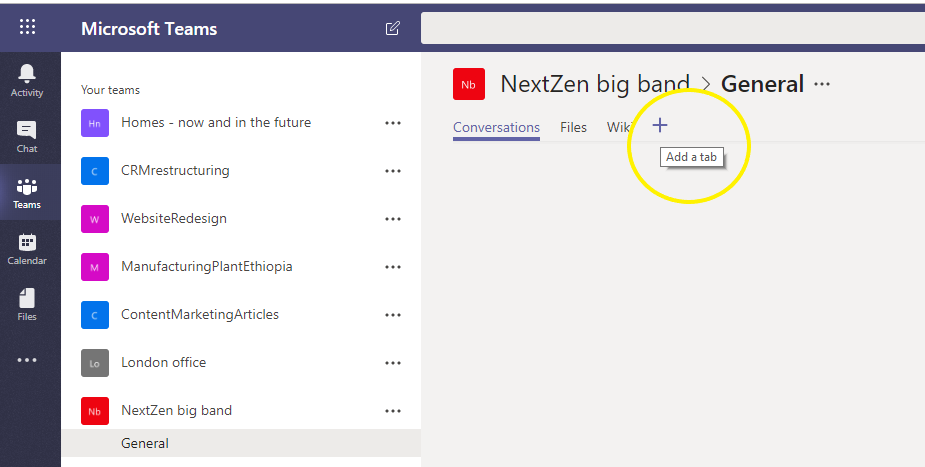
Note: You can also integrate existing Teams with Workspaces by clicking on the ‘+’ in the Microsoft Teams environment under the ‘Teams’ tab (if it fails, make sure that the team’s files are located on SharePoint by clicking on the ‘Files’ tab and files in SharePoint).
Find the Wizdom Metadata app in the library.