Generate a New Client ID and extend Client Secret for SharePoint’s modern experiences
When you make a new app request in SharePoint, the client secret is valid for 12 months by default. However, it is possible to extend the period to 3 years by following these steps.
This guide will walk you through how to generate a new Wizdom app with associated client id, and client secret if the client secret has expired. To generate and extend the current client secret from 1 year to 3 years, please follow these steps:
Last edited May 23 2019
Prerequisites
Before you start, you’ll need the following:
1) Microsoft Online Services Sign-In Assistant will have to be installed on the development computer. Download it here (32bit or 64bit)
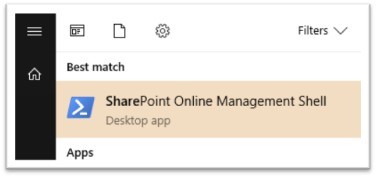
2) SharePoint Online Management Shell will have to be installed on the development computer. Download it here
3) A tenant administrator user for the Office 365.
4) Script to generate new client secret. Download newclientsecret.zip from Wizdom Partner portal http://bit.ly/2OCFuTX
Generating New Client Secret
Once you’ve made sure that you have everything you need to generate and extend the current client secret from 1 year to 3 years, please follow these steps:
1) Log in to https://portal.azure.com with the <Azure Admin> account
2) Select Resource Groups, and click resource group = <wizdomrg>
3) Click the web app service = <wizdomweb>
4) Select Application Settings
5) Copy existing ClientID and save it in Notepad for later use

6) Open SharePoint Online Management Shell with elevate rights
7) Run the following cmdlet Connect-MsolService and sign in as Office 365 tenant administrator
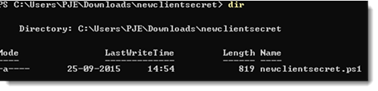
8) Change directory to the downloaded script ps1 and run the script
9) At the prompt for client id : enter the current ClientID as documented in step 5
10) The new client secret will appear in the Windows PowerShell console. Copy this to Notepad

Updating the New Client ID and Secret in Azure
Now, you’ll need to update the client id and secret for the Wizdom app in Azure.
1) Go to https://portal.azure.com/ and log in to find the Wizdom Azure website.
2) Log in with the <Azure Admin> account
3) Select Resource Groups, and click resource group = <wizdomrg>
4) Click the web app service = <wizdomweb>
5) Select Application Settings
6) Change the name of the ClientSecret key to SecondaryClientSecret as shown below

7) Add a new setting and name it ClientSecret and paste in the new value from the previous section, step 10

8) Click Save and restart the web app
9) Login in to Wizdom Intranet and test it working as expected
Adding the New Wizdom App to the Intranet
Finally, you add the app to the site collection where you need the Wizdom functionality.
1) Copy the following URL and paste into the search field of your browser: https://<tenant>-admin.sharepoint.com/_layouts/15/appinv.aspx
2) Replace the <tenant> with the tenant of your site and load the page in your browser.
3) As an administrator, you will now access the admin center for SharePoint, where you can configure the settings of your site.
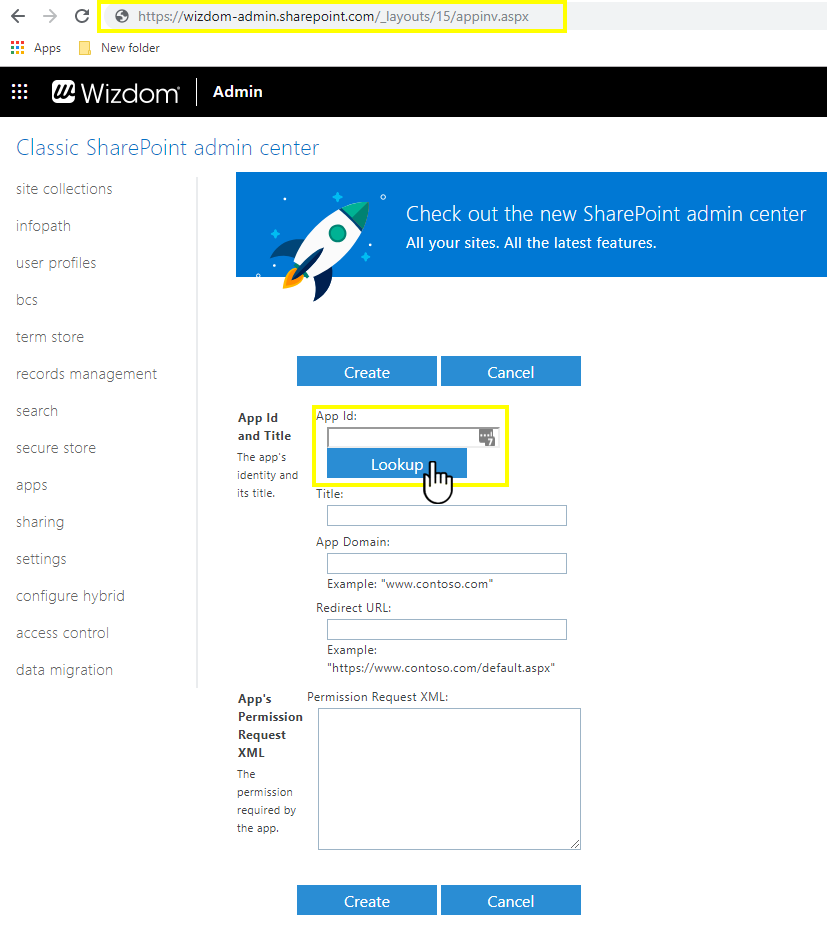
4) Enter your retrieved App Id into the first field and click ‘Lookup’.
5) The Title, App Domain, and Redirect URL will then be automatically found and will appear in the sections below.
6) In ‘Permission Request XML‘, paste and insert the following:
<AppPermissionRequests AllowAppOnlyPolicy=”true”><AppPermissionRequest Scope=”http://sharepoint/content/sitecollection” Right=”FullControl” />
<AppPermissionRequest Scope=”http://sharepoint/social/tenant” Right=”FullControl” />
<AppPermissionRequest Scope=”http://sharepoint/search” Right=”QueryAsUserIgnoreAppPrincipal” /><AppPermissionRequest Scope=”http://sharepoint/content/tenant” Right=”FullControl” />
<AppPermissionRequest Scope=”http://sharepoint/taxonomy” Right=”Write” />
<AppPermissionRequest Scope=”http://sharepoint/content/sitecollection/web” Right=”FullControl” /></AppPermissionRequests>
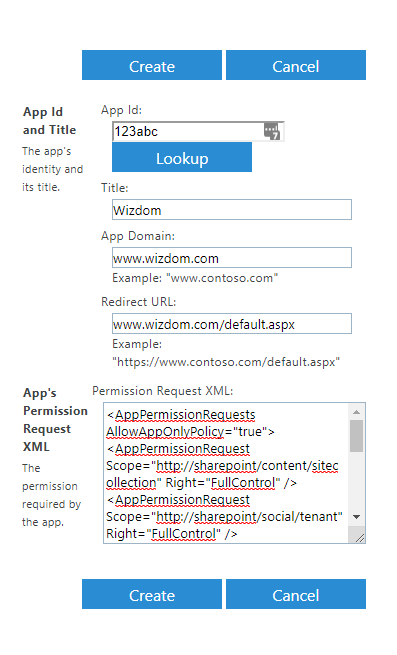
7) Click ‘Create‘ and then accept to trust it. The App is now added to your intranet.
Test and validate
That’s it!
Now go to the intranet front page and make sure that all Wizdom web parts work. Also, test the Wizdom app by going to Wizdom Configuration Center and confirm that everything work well in there as well.
If you encounter errors, then double-check that you have followed all steps in this guide thoroughly. Optionally, you can try and add the Wizdom app once again or to reinstall the app in the app catalog.
If Wizdom’s web parts still doesn’t work after this, but Wizdom Configuration Center opens and loads correctly, then try and go to the ‘Installation’ module in the ‘Admin’ part of Wizdom Configuration Center and click ‘Install’. This will make Wizdom try to reinstall the scriptloader on the current site collection and in some cases this can solve the issue.
If you have Wizdom installed on multiple site collections, and rather not want to install Wizdom on each and every site collection one by one, you can force an update of all site collections by adding a new dummy custom module in the ‘Custom Module’ part of Wizdom Configuration Center and then delete it again afterwards. You can delete a site collection via the Configuration Center under ‘Admin’ and click your way to the ‘Sitecollection’ module. The tab ‘Modern Sitecollections’ is avaliable for all administrators using Wizdom version 6.38 or newer.
If Wizdom’s web parts are still not working after these actions, a reason can be that SharePoint has cached the expired client id/secret. This caching can last up till 12 hours and you will simply have to wait to find out whether this was the issue.