Custom site templates
Typical use cases
- Modify site features
- Add webparts
- Create noticeboard channels
Authentication
Wizdom Site Templates uses an ExecuteEndpointAction to call the configured URL. The call to the configured URL are not authenticated so be aware a URL defined in the Template can access the SharePoint resource on behalf of the user/app. The configured URL will receive the following header to be able to impersonate current user/app.
- “WizdomSPToken”, “[SharePoint access token]”
If Site Templates need to call back to the Wizdom API it needs to be authenticated. To call back to SharePoint using CSOM, the WizdomSPToken can be used. The Wizdom API uses OAuth 2.0 to handle authentication and authorization. Before using the Wizdom API an Azure Active Directory application with correct permission scope needs to be created. This app will provide the authentication service for accessing the Wizdom API.
Visual Studio 2017 / .NET web application sample
This section will provide a sample on how to use the ExecuteEndpointAction in Wizdom Site Templates. In about ten minutes you’ll have a simple .NET web application that receives a HTTP POST payload from Wizdom. The application is then able to read information from the newly created site. The sample uses WizdomSPToken to execute queries against SharePoint.
Prerequisites
- Visual Studio 2017
- Office 365 site collection with Wizdom installed
Step 1: Create a .NET web application
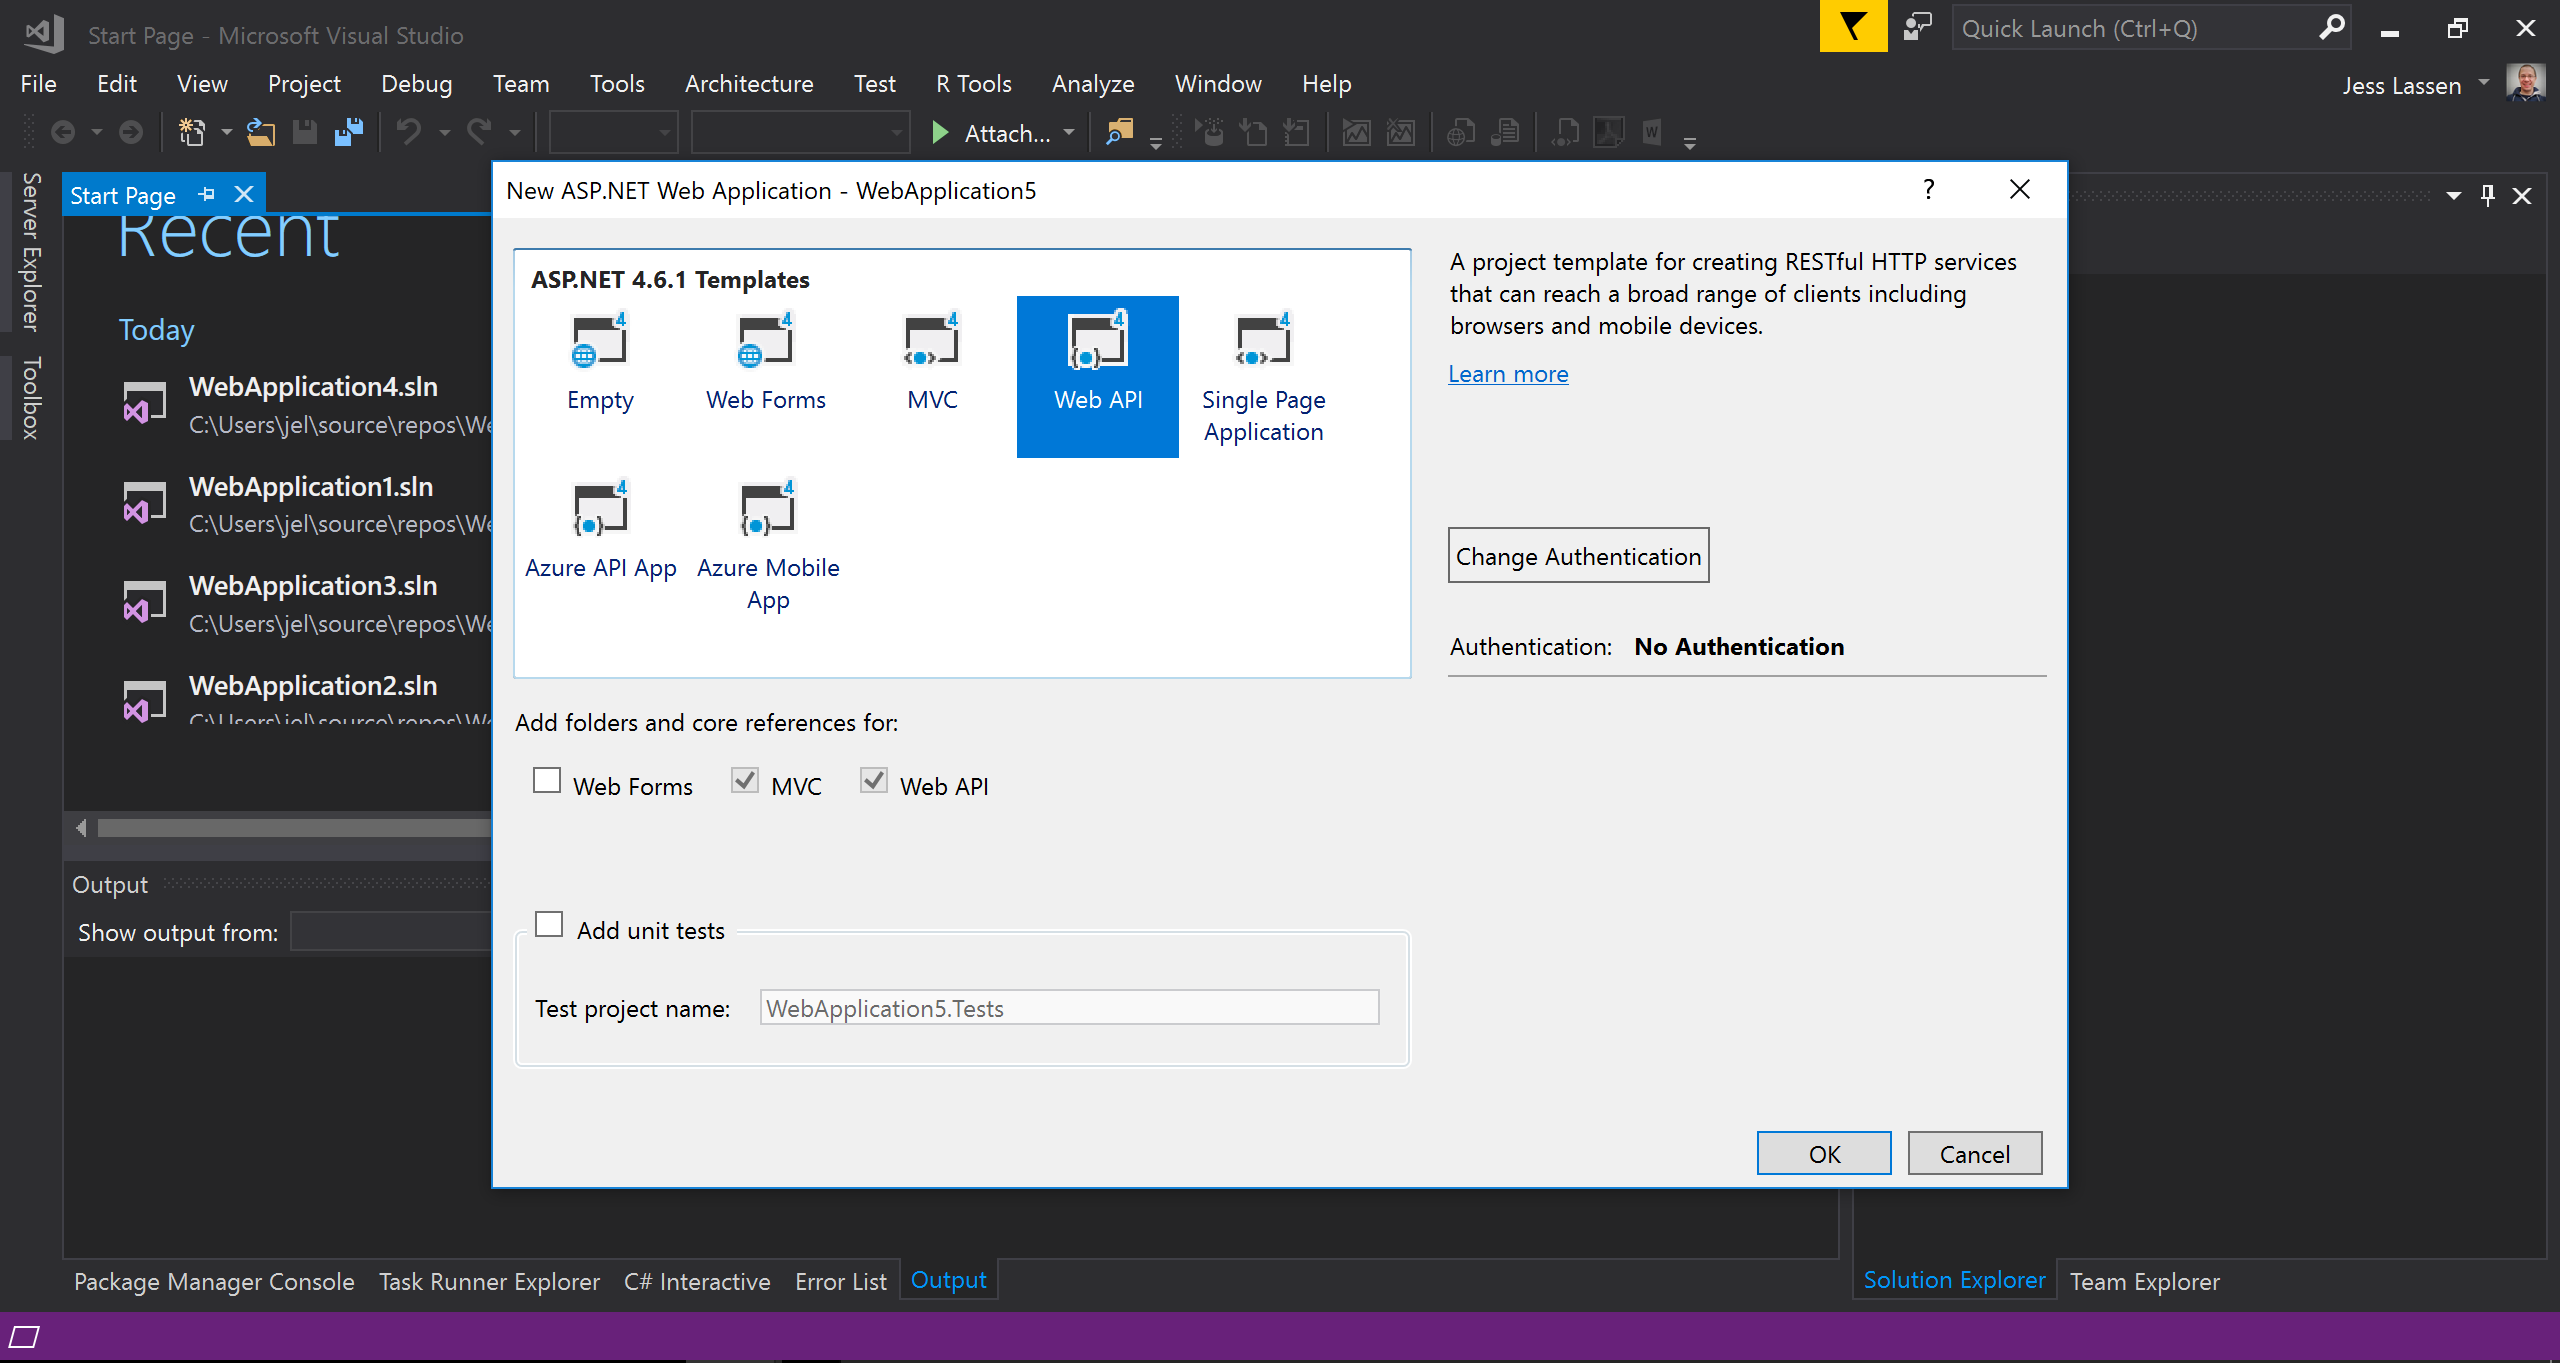
1. Create ASP.NET (Web Application) and choose WebAPI, no authentication
This is needed for the azurewebsite to reach your local dev environment.
ex. ./ngrok.exe http 51191 -host-header=”localhost:51191″

public class ExecuteEndpointItem
    {
        public string WebUrl { get; set; }
}5. Install nuget package: Install-Package Microsoft.SharePointOnline.CSOM -Version 16.1.6906.1200
6. Replace the class with this code and resolve the missing references.
[RoutePrefix("api/sitetemplate")]
    public class SitetemplateController : ApiController
    {
        [HttpPost]
        [Route("executeendpoint")]
        public void ExecuteEndpoint([FromBody]ExecuteEndpointItem executeEndpointItem)
        {
            var token = Request.Headers.GetValues("WizdomSPToken").FirstOrDefault();
            var appUrl = Request.Headers.GetValues("x-wizdom-appurl").FirstOrDefault();

            ClientContext clientContext = new ClientContext(executeEndpointItem.WebUrl);
            clientContext.AuthenticationMode = ClientAuthenticationMode.Anonymous;
            clientContext.FormDigestHandlingEnabled = false;
            clientContext.ExecutingWebRequest +=
                delegate (object oSender, WebRequestEventArgs webRequestEventArgs)
                {
                    webRequestEventArgs.WebRequestExecutor.RequestHeaders["Authorization"] =
                        "Bearer " + token;
                };

            Uri url = new Uri(executeEndpointItem.WebUrl);
            Web web = clientContext.Site.OpenWeb(url.PathAndQuery);
            clientContext.Load(web, x => x.Title);
            clientContext.ExecuteQuery();
            var title = web.Title;
        }
}8. Replace the site template with this code. Remember to replace the value in brackets
<?xml version="1.0" encoding="utf-8"?>
<Template xmlns:xsi="http://www.w3.org/2001/XMLSchema-instance" xmlns:xsd="http://www.w3.org/2001/XMLSchema" name="jessdoc" displayName="jessdoc" hidden="false" webTemplate="STS#0">
  <Action xsi:type="ExecuteEndpointAction">
    <Url>[your ngrok url]/api/sitetemplate/executeendpoint</Url>
    <PostValues>
      <PostValue name="WebUrl">{Web.FullUrl}</PostValue>
    </PostValues>
  </Action>
</Template>10. Navigate to the site contents and “New Wizdom Site”. Select your custom template in the dropdown and create a new Wizdom site. Verify that your breakpoint is hit.
This concludes this sample application.