Upgrading Wizdom on SharePoint on-premises
This guide describes the steps to upgrade a Wizdom on SharePoint 2013 or 2016 solution to the newest Wizdom version using the high-trust model. It’s a guide for you who is upgrading a Wizdom Add-In solution hosted on-premises.
This article will focus on the steps of the upgrade involving IIS web site and/or Directory File System (DFS) configuration.
NOTE: If the SharePoint farm infrastructure setup is configured for high-level load-balanced setup, using two or more servers, and the Wizdom IIS web site is not load-balanced, we recommend you to follow the guide ‘Installation Guide for Multi Server Wizdom Setup‘.
Last edited January 10 2017
1) Perform a backup of Wizdom
Before you begin the upgrade of Wizdom, we recommend you to perform a backup of Wizdom.
To make a backup of a Wizdom site and corresponding files, do the following:
1) Log on to the server offering the Wizdom IIS web site as local administration.
2) Open InetMgr.exe and stop the Wizdom web site.
NOTE: If Wizdom is configured for load balancing or high availability using Distributed File System (DFS), you need to stop Wizdom web site on all servers that are members of the distribution group in DFS.
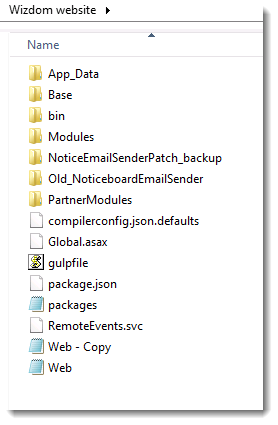
3) Open File Explorer and find the physical path to the Wizdom web site.
In our example, the Wizdom web site is located in C:\inetpub\Wizdom website
4) Select all files and folders by pressing Ctrl+A and copy all to a backup location on the server or a shared folder on the network. E.g. copy to D:\backup\wizdom\wizdom website\2017-11-30.
5) Check that source and destinatoin has the same size and number of files.
5) Check that source and destination has the same size and number of files.
2) Get Wizdom distribution package
Wizdom upgrade package is a prerequisite for an upgrate. The package is distributed as a full package that contains all binaries necessary for a first-time installation or upgrade of an existing Wizdom instance.
If you’re a partner, the Wizdom distribution package can be downloaded on our partner portal at any time. Furthermore, the distribution point offers download of current and older packages.
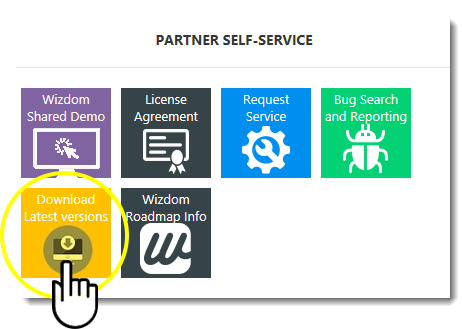
1) Open the partner portal
2) Go to the Partner Self-Service section and click on the app Download Latest Version.
3) Depending on the SharePoint version you are upgrading Wizdom on, click the SharePoint 2016 or 2013 folder and find the version you want to upgrade to.
If you’re a customer, please contact Wizdom Support on support@wizdom-intranet.com and request the package.
3) Unpack Wizdom distribution package
After the package has been received, unpack the zip-file to a safe distribution point on the Wizdom server.
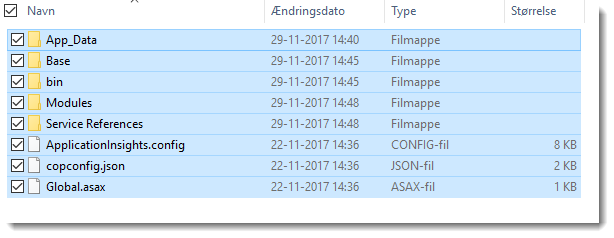
In the package, you’ll find several files and libraries and the structure may look like this:
NOTE: The package distributed is the same package for first-time installation as well for upgrading of an existing Wizdom installation.
Per default, the package lists the following content:
- Wizdom blob
This folder contains a subsite to Wizdom IIS web site and are used for first-time installation. - Wizdom searchconfig
This is the search configuration file used for first-time installation of search properties in SharePoint Search Center. Normally this file is only required when setting up Wizdom, but in some cases it can be re-installed if managed properties are missing, or Wizdom package has new functionality and search properties. - Wizdom website
This folder contains all files needed for Wizdom Configuration Center. Navigate to SharePoint Site Collection > Site Contents > Wizdom app. - Wizdom website web.config
This is the original web.config file and is not used afterwards.
4) Upgrade Wizdom
Before you start the upgrade process, please ensure that you have a valid backup of the Wizdom web site and, if needed, Wizdom Blob folders.
To upgrade Wizdom add-in on-premises please follow this procedure:
1) Log on to the server offering the Wizdom IIS web site as local administration.
2) Open InetMgr.exe and stop the Wizdom web site.
NOTE: If Wizdom is configured for load balancing or high availability using Distributed File System (DFS), you need to stop Wizdom web site on all servers that are members of the distribution group in DFS.
3) Open the Wizdom upgrade package.
4) Find the Wizdom installation.docx and go to section 4.xx where the upgrade steps are listed.
Let us assume we have version 6.25.0.12 and want to upgrade to 6.25.1.0:
The section describes how to upgrade by using the procedure listed:
Overwrite files in the Wizdom website folder, with the content of the “Wizdom website” Folder. The best way to do so is to first delete all files except web.config and the ‘PartnerModules’ folder and then copy/paste the new “Wizdom website” folder content.
Under normal circumstances this is the main upgrade procedure. In some versions there can be modifications to web.config and in those cases, it is described in the upgrade steps. As an example of this is the upgrade from version 6.24.1.0 to 6.25.0.12:
4.35.2 Web Config Changes:
Add the following entry to the web config file.
5) Find the Wizdom web site folder in IIS Manager and delete all files and folders, except the ‘web.config’ file and the ‘PartnerModules’ folder – important!
6) In the upgrade package, go the folder ‘Wizdom website’ and select all files and folders (Ctrl + a).
7) Copy all contents to the Wizdom web site folder belonging to the web site.
8) If required in the specific release, update web.config.
9) Open InetMgr.exe and start the Wizdom web site again.
NOTE: If Wizdom is configured for load balancing or high availability using DFS, you need to start Wizdom web site on all servers that are members of the distribution group in DFS.
5) Test and validate
To test the upgrade, please follow these steps:
1) Log on to the SharePoint server as an administrator or open a browser on the client PC.
2) Open the Wizdom site collection, i.e. https://intranet.company.com and wait for the application pool to display the Wizdom content.
3) Test that Wizdom IIS web site is working as expected by clicking the icon to Wizdom Configuration Center.
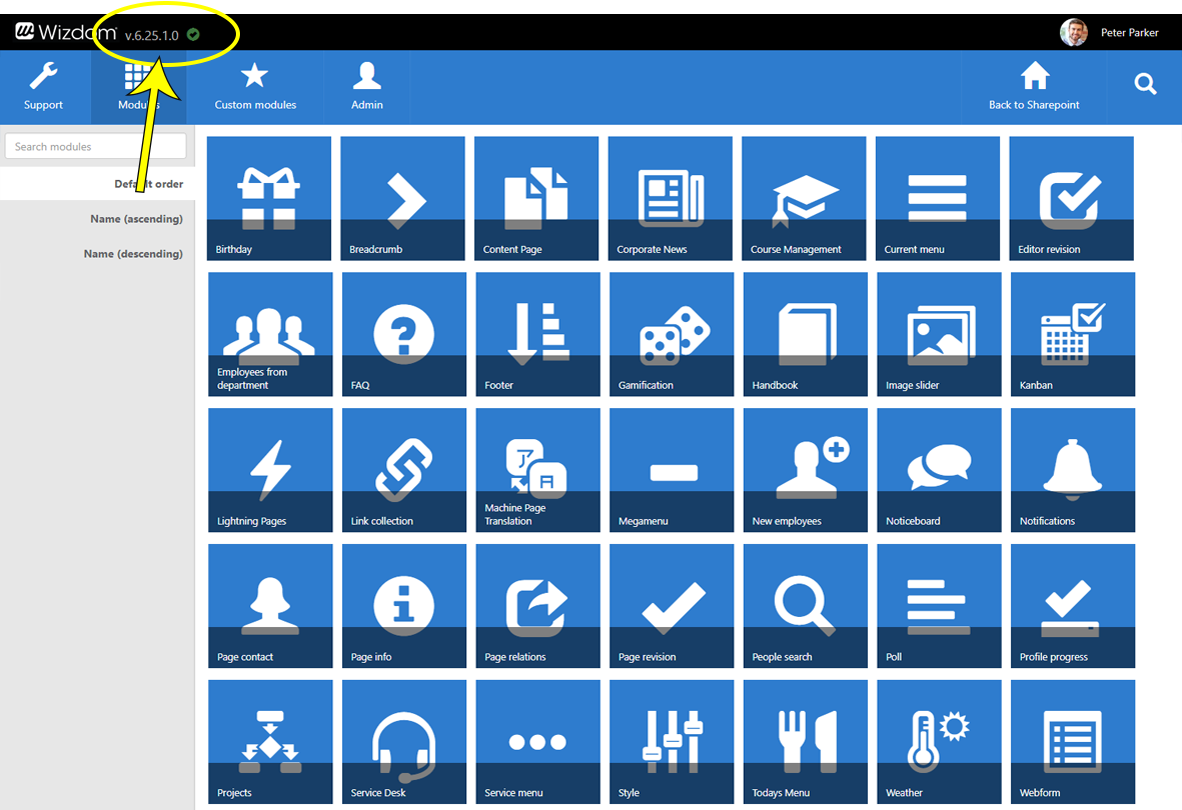
4) In Wizdom Configuration Center, the version, your solution is currently running on, is displayed in the top left.
5) Check whether Wizdom site collection is in new status. If not, error might be displayed under Status:
If status is ‘error’, you must click the Install/Upgrade button to upgrade the site collection to reflect the new version installed.
Wait for the upgrade to be finished. After this, the status will be ‘new’ and your Wizdom installation is upgraded to the new version.

